Customize designs
Customizing designs is perhaps the most common scenario in embroidery. You will sometimes want to create a new design, usually from artwork, but more often you will want to take an existing design and ‘re-purpose’ it. We’ve already seen how to make global changes such as sizing, changing colors and fabrics. It won’t be long before you want to try more ‘invasive’ changes such as removing, combining, duplicating, resequencing, changing stitch types and effects, etc. Here is a sampling of the things you may want to try.
Remember to study the sample designs included with your embroidery software installation.
 | Use Customize Design / Standard / Layout > Insert Design to insert another embroidery design into the current design. Design palettes are merged. This tool is also available via File menu. |
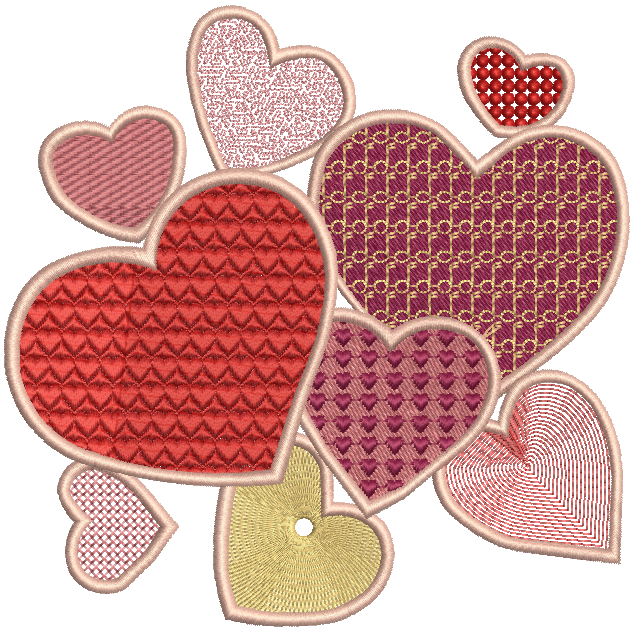
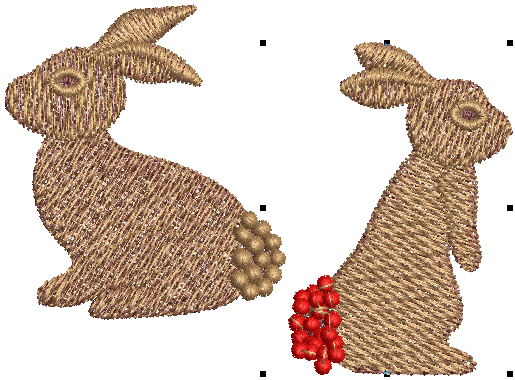 Combine designs
One technique you will undoubtedly use is combining design elements. This will in turn teach you a lot about other editing operations such as resizing, positioning, rotating, sequencing objects, as well as removing underlying stitching. See Insert designs.
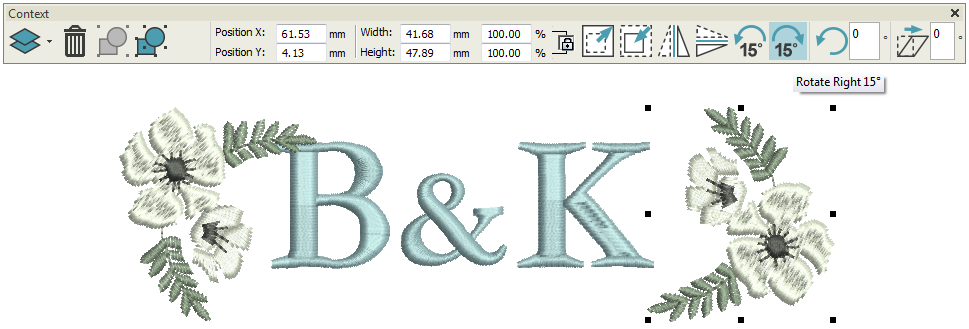
 | Use Context > Rotate Left 15° to rotate selected objects in 15° anti-clockwise increments. |
 | Use Context > Rotate Right 15° to rotate selected objects in 15° clockwise increments. |
Transform designs
Often you will want to scale a design for use in different contexts. For instance, a design originally made to fit a pocket may be adapted to fit a cap. The software provides techniques for transforming design objects just like a graphics program ... with one difference. When you scale, rotate, skew, or flip an embroidery object, stitches are regenerated. See also Transform objects.
 | Use Layout > Mirror-Copy to Work Area Corners to copy selected object/s to each corner of the layout work area. |
 | Use Layout > Auto Center to Work Area to automatically move selected object/s to center of the work area. |
Design layouts
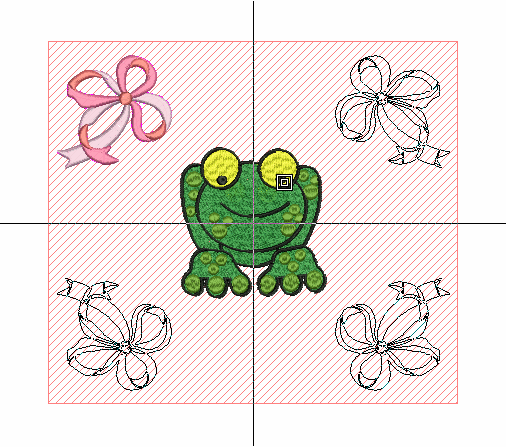
Create large rectangular layouts with selected design/s and/or object/s. Designs are automatically copied, rotated and placed in the work area. Display the layout work area. See Work areas.
 | Use Edit Objects / Select > Reshape to reshape an object outline, stitch angles or enveloping. |
Reshape designs
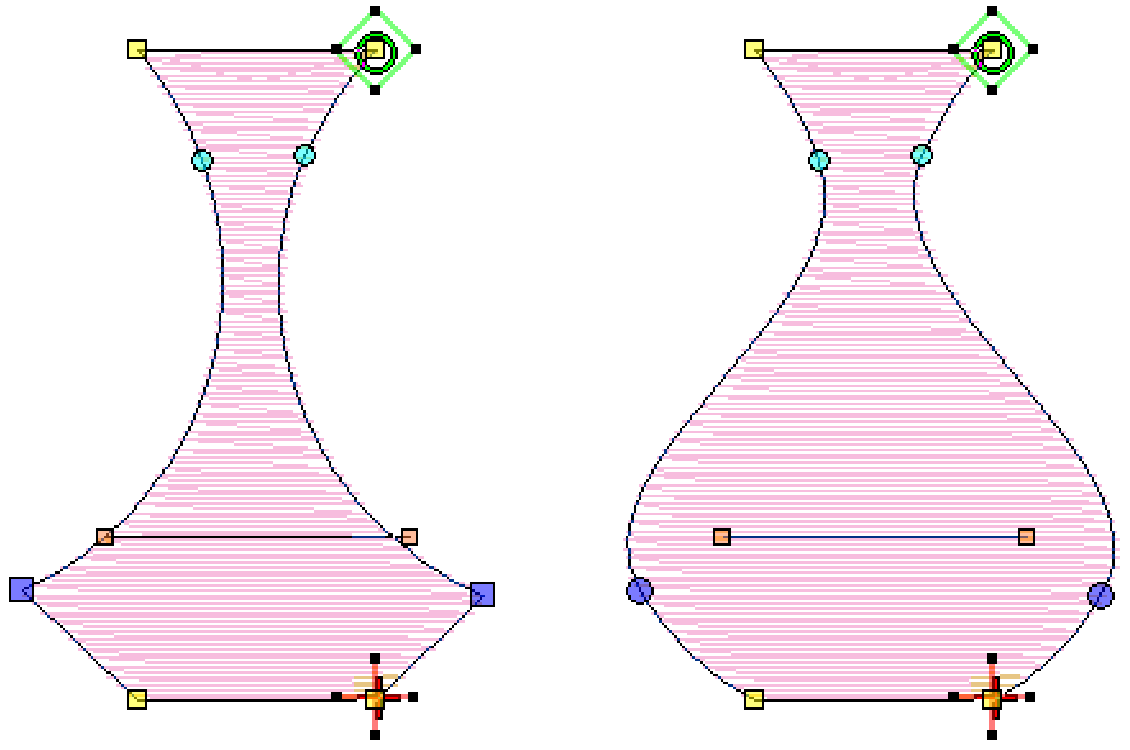
Reshaping operations may be called on for anything from minor modifications to object shapes to reshaping letters for special effects. In most cases, if it is selectable, it can be reshaped. See Reshape objects.
Use Object Properties > Fill > Embossed to create decorative patterns of needle penetrations while keeping the appearance of solid stitching. Choose from a pattern library. |
Use Object Properties > Fill > Motif to create decorative open fill stitching. Choose from a motif library. |
 Artistic stitch effects
It won’t take long before you get bored with simple fills and outlines and want to try out some of the many artistic stitch types and effects your software provides. See Stitch types.
