Sew an existing design
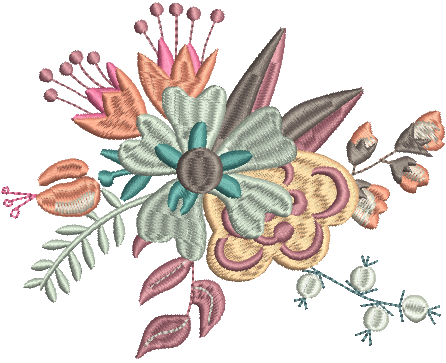 For many embroiderers, it is enough to take an existing design and stitch it out. This is certainly where most will start. Once you have found a design you like, you will want to preview it to see how it will sew out. A number of steps are involved. We outline the main ones here with reference to the User Guide.
.
Rules of good embroidery
Keep the following points in mind when looking at embroidery designs, both your own and others:
- Stitches are neat, smooth and even
- Design looks good – shapes, colors, balance
- Shapes are filled with correct fill and outline stitches
- Stitches are angled to match shapes
- Shapes are stitched correctly – no unwanted gaps
- Details are clearly defined
- Lettering is clear and easy to read.
The stitchout should also have the following characteristics:
- The design sews efficiently on the machine
- The fabric does not pucker around stitched areas
- The design is free of loose ends.
Good embroidery quality starts with good design. You then need a good quality machine to stitch it out. But even that is not enough if you do not use the correct fabric, threads, backings, tension, and so on. Consult your machine manual for advice and get as much advice from other embroiderers as you can.
 | Use Manage Designs > Open Selected to open design(s) selected in the embroidery library. |
 | Use Manage Designs > New From Selected to create new designs based on designs selected in the embroidery library. |
Sew out a design
Open a design from your Embroidery Library. See Open design files.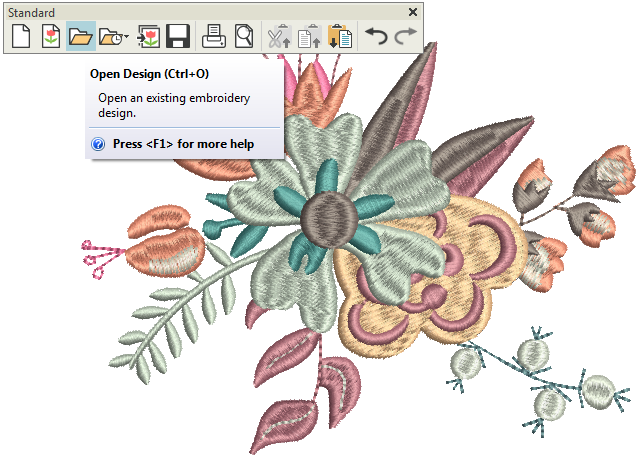
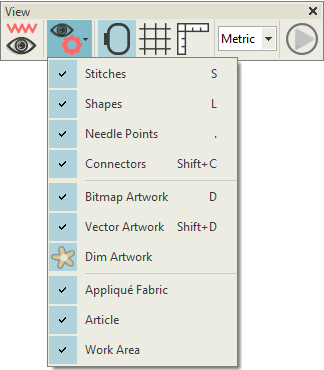
 | Use View > Show Design to show or hide design elements. Click to open droplist of view settings. |
 | Use Customize Design > Auto Fabric to change the properties of the design for stitching on a different fabric. |
Change fabric type
Check the fabric type and change as necessary via the Customize Design toolbox or Design Settings menu. See Auto fabrics & densities.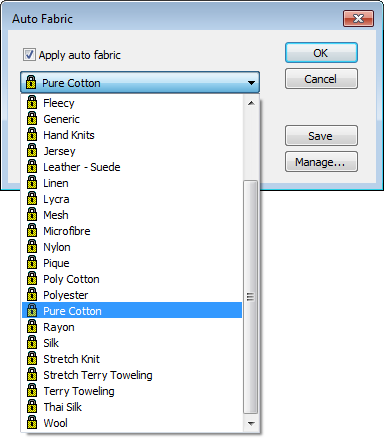
 | Use Design Palette > Change Design Color to show or hide the My Threads docker to find threads from different charts and change design colors. |
Assign threads
Go to the Design Palette and check the thread colors. If necessary, change charts to suit one you are using. See Design colors.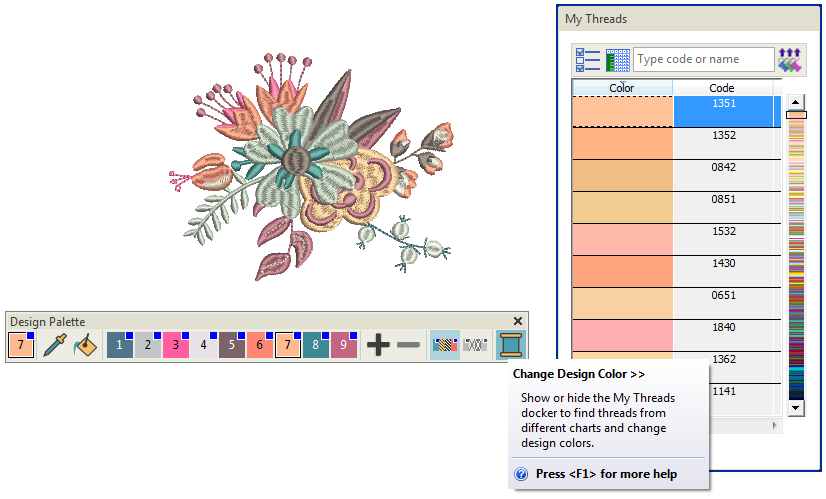
 | Use View > Stitch Player to simulate embroidery design stitchout onscreen in either stitch or TrueView. |
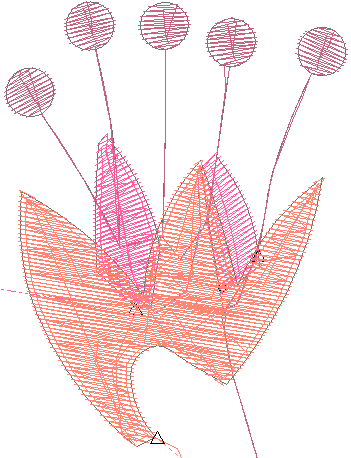
Preview stitchout
Press <Shift + R> to preview the stitchout so you understand how the design will sew on the machine. See Travel through designs.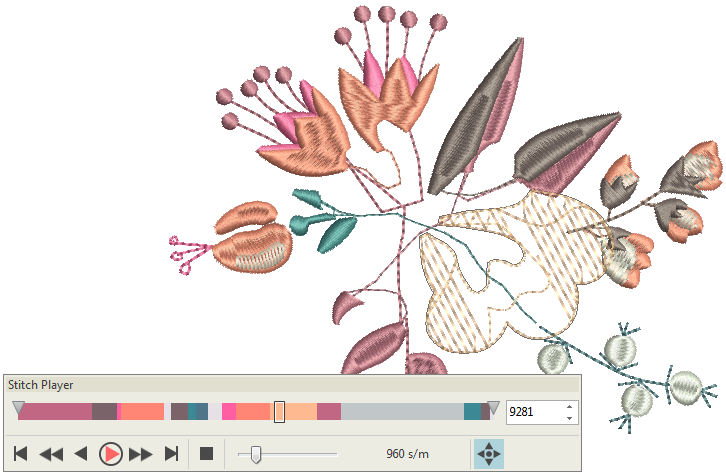
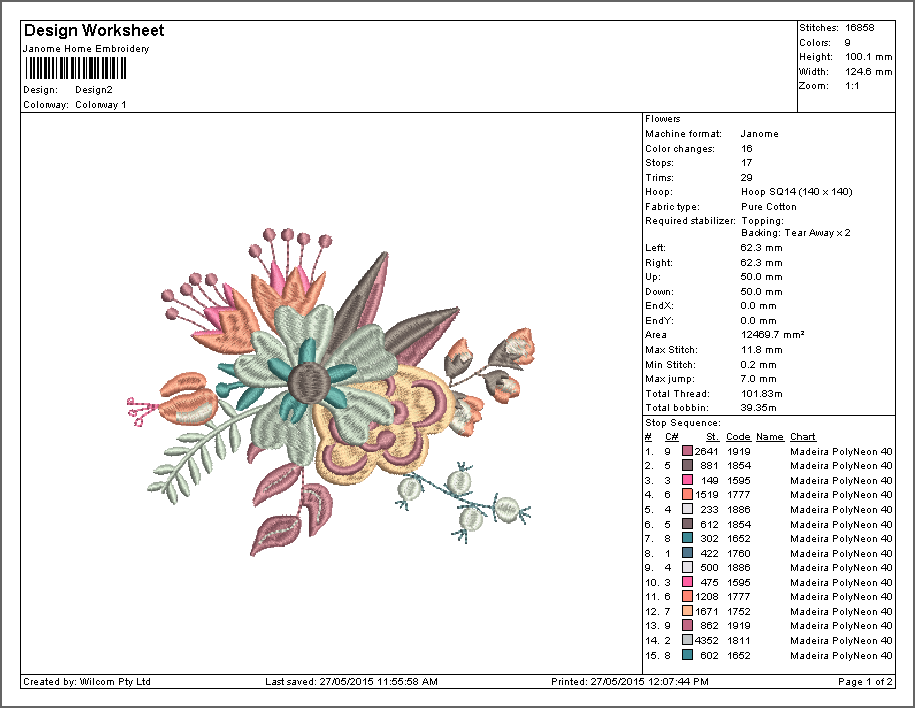
 | Use Output Design / Standard > Print Preview to preview design worksheet. Print from preview window. |
Preview design worksheet
Preview the design via the Standard toolbar or Output Design toolbox and print a design worksheet as preferred. See Print designs.
 | Use Output Design / Context > Send a Design to send the current design to your machine for stitching. |
 | Use Output Design / Context > Write to Card/USB to send a design to an external media drive. |
Output design
Send the design to machine directly or via data media (usually memory stick). See Send designs to machine.
Check your machine documentation for steps involved after transferring the design to machine.
