Simple lettering

Once you are used to sewing out designs and resizing, changing colors and fabric types, you will certainly want to create your own lettering designs. While it takes practice to obtain a good quality stitchout, it is as simple as typing letters on-screen to create an attractive lettering design.
 | Use Manage Designs > Open Selected to open design(s) selected in the embroidery library. |
 | Use Manage Designs > New From Selected to create new designs based on designs selected in the embroidery library. |
Open design
Open a design. Typically you’ll want to add lettering to an existing design. Go to the Manage Designs toolbox and choose from one of the many samples. See also File management.
 | Use Lettering / Monogramming > Lettering to create embroidery lettering onscreen using native embroidery alphabets or TrueType fonts. |
Add lettering
Add embroidery lettering to designs quickly and easily, either on-screen using current settings or via ‘object properties’. See Create lettering.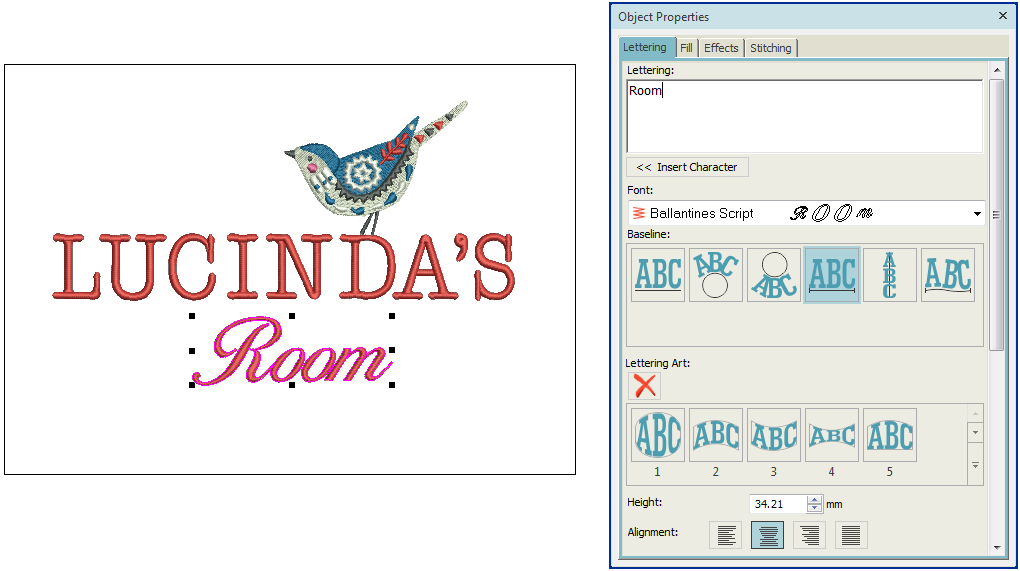
.
Adjust baselines and other settings
It’s then a simple matter to adjust baselines, formatting, spacing settings, and colors. See Lettering layouts.
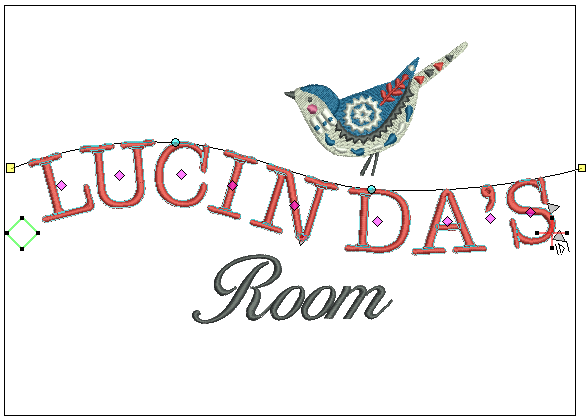
Try stitching out your lettering design. Study the stitch quality. Be aware that different alphabets sew out better at different sizes.
