Custom borders
The Create Border function allows you to create your own borders for use in monograms. These can be saved to the default ‘borders’ set or one of your own creation. See also Monogram borders.
 | Use Digitize > Digitize Closed Shape to create closed shapes using either outline or fill stitching. Left-click for corner points, right-click for curves. |
 | Use Advanced Digitize > Create Border to add selected shapes to a border library for future use. Use as a border for selected objects or designs, or use with monograms. |
 | Use Context > Line to outline closed shapes with the current line stitch type. |
 | Use Context > Fill to fill closed shapes with the current fill stitch type. |
Creating custom borders involves essentially the same steps as creating motifs. See also Motif stamps.
- Digitize the border with the Closed Shape tool or select an existing closed shape. Outlines or fills can both be used. This can be changed once the border is selected for use. Don't use satin line as this results in a double border.
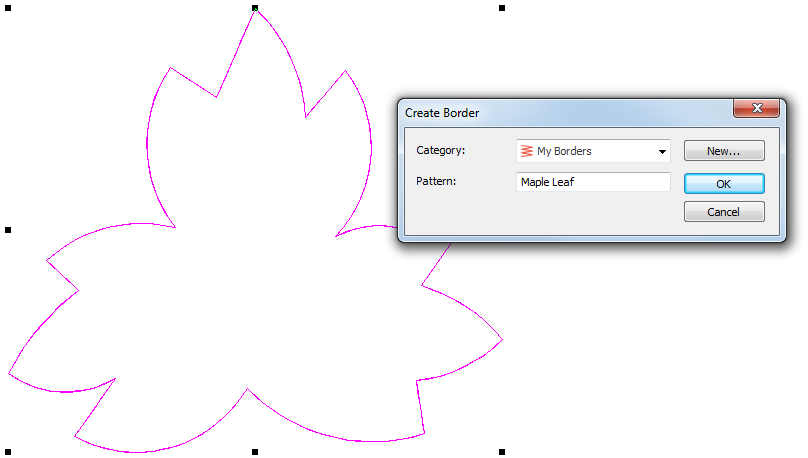
- If need be, create a new library or 'set' to contain custom borders.
- Digitize two reference points. These determine default border orientation.
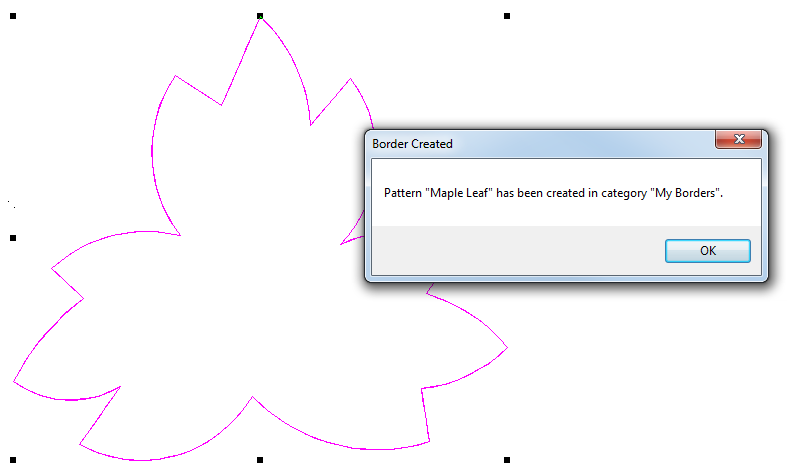
- Click OK when the confirmation message appears.