Save artwork
Artwork can be inserted, pasted or scanned into your embroidery software for use as digitizing templates or ‘backdrops’. The Artwork toolbox provides for importing electronic artwork into your embroidery software, editing it, and preparing it for automatic digitizing. All images placed in the design window, whether by scanning, pasting or inserting from hard disk, are saved together with the embroidery design in the EMB file. After editing in the embroidery software or third-party graphics application, you may want to save the image out as a separate file. The software lets you save out edited artwork from both Embroidery Mode and Graphics Mode.
 | Use Artwork > Save Artwork to save a backdrop as a separate file after image processing and/or editing. |
Save artwork in Embroidery Mode
You can save selected artwork in Embroidery Mode in a limited number of graphic file formats...
- Insert the image, edit, and process as required.

- Select and click the Save Artwork icon in the Artwork toolbox. The Save Bitmap As dialog opens.
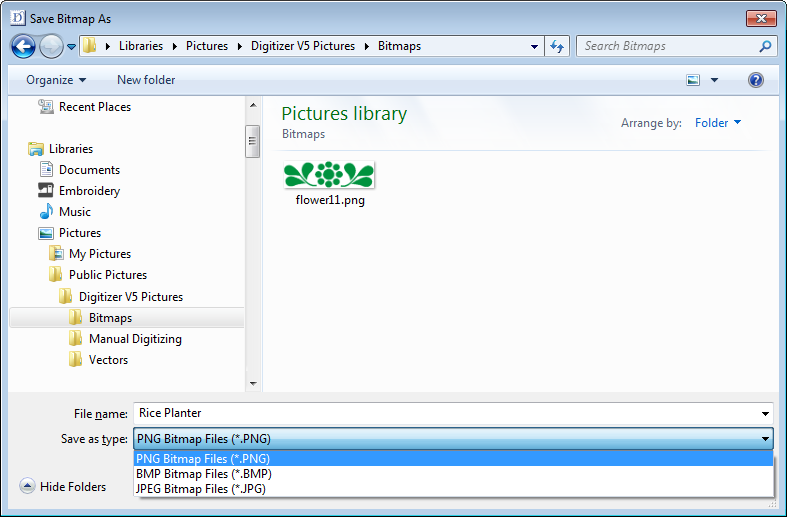
- Select a folder, then select a file format from the droplist.
- Enter a new file name and click Save.
This file is not referenced by the EMB file. Any further changes to it are not reflected in the embedded image.
| Use Switch and Convert > Switch to Graphics Mode to import, edit or create artwork as a backdrop for embroidery digitizing, manual or automatic. |
| Use Artwork > Save Artwork to save a backdrop as a separate file after image processing and/or editing. |
Save artwork in Graphics Mode
If you save edited artwork in Graphics Mode, many more file formats are available to you. See also Supported artwork.
- Insert the image, edit, and process as required.
- Switch to Graphics Mode.
- Select and click the Save Artwork icon. The Export dialog opens.
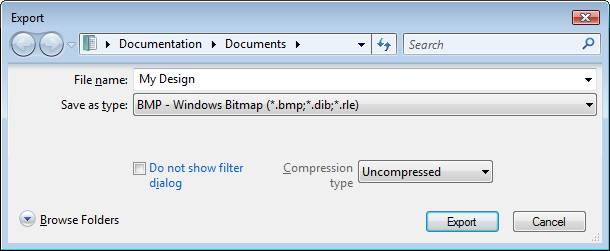
- In the Save In field, select a folder, then select a format from the droplist.
- Enter a new file name and click Export.