Auto-digitizing
If you have graduated this far in exploring your machine and embroidery software, you are doing well. You can already achieve a great deal without having to actually do your own digitizing. However, if you have got this far, that is probably exactly what you want to do!
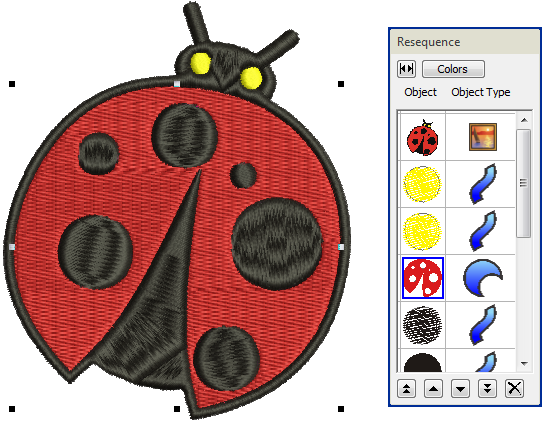
One of the quickest ways to get started is to use the automated techniques that the software provides. While there are limitations to what can be done this way, auto-digitizing nevertheless allows you to prototype design ideas relatively simply and may be sufficient for your purposes. At least for now!
 | Use Artwork > Prepare Artwork for Embroidery to prepare bitmap images for automatic digitizing by reducing colors, removing image ‘noise’, and sharpening outlines. |
Using artwork
To create good quality embroidery, you need to choose suitable artwork. Possible sources include:
- samples in the Picture folder
- books of embroidery patterns and children’s story books
- printed table cloths or tea towels
- business cards, post cards and wrapping paper
- clip art libraries of your word processing or graphics program
- Internet or CD clipart libraries
- original artwork – e.g. children’s drawings.
Artwork that is not in digital format needs to be scanned correctly to produce good quality images. For both manual and automatic digitizing purposes, ‘clean’ artwork with a limited number of solid colors and well-defined outlines works best. The Artwork toolbar contains tools for inserting, scanning, and preparing artwork for automatic digitizing. See Artwork.
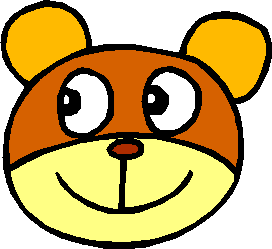 | 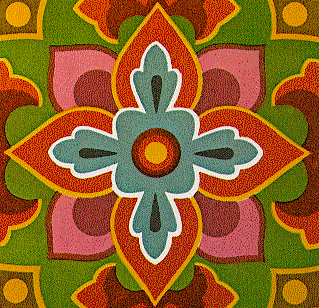 | |
| Clean picture with well-defined outlines | Clean picture with well-defined color blocks | Complex picture, needs editing to create clean color blocks |
Unless you are an experienced digitizer, don’t use artwork which is too complicated.
 | Use Auto-Digitize > Click-to-Fill to digitize large artwork shapes with tatami fill, preserving any holes within. |
 | Use Auto-Digitize > Click-to-Outline to digitize boundaries of shapes with run stitching using current properties. |
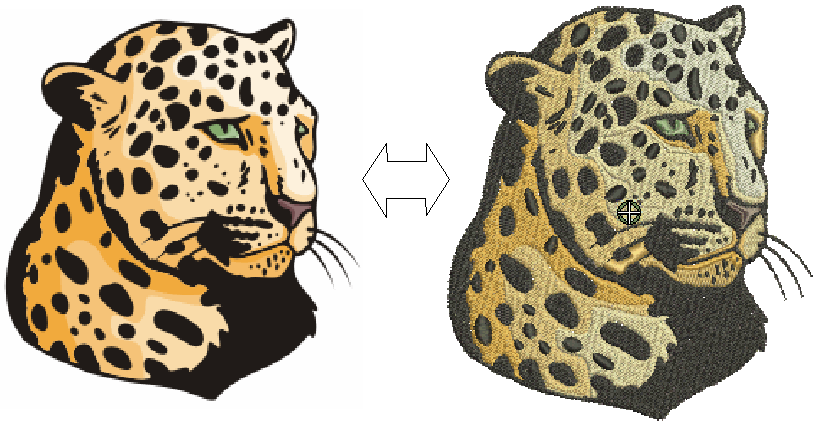
Bitmap artwork conversion
Bitmap artwork consists of colored dots or pixels. When you zoom in on a small area, outlines become jagged and ‘pixelated’. The Click-to-Fill tools in the Auto-Digitize toolbox provide everything necessary to digitize bitmap shapes automatically. See Digitize with Click-to-Stitch.
 | Use Auto-Digitize > Auto-Digitize Instant Embroidery to create embroidery designs directly from imported images using default settings. |
 | Use Auto-Digitize > Auto-Digitize Embroidery to create embroidery designs directly from imported images using conversion settings. |
An extension of this technology, Auto-Digitize makes decisions about the most suitable stitch types to use and can digitize whole designs. See Auto-digitize embroidery.
| Use Switch and Convert > Switch to Graphics Mode to import, edit or create artwork as a backdrop for embroidery digitizing, manual or automatic. |
 | Use Switch and Convert > Convert Artwork to Embroidery to convert selected vector or bitmap artwork to fill or outline stitches. |
Vector artwork conversion
Special conversion tools automatically convert vector objects and text to embroidery or lettering objects. These can be modified as required. Vector artwork consists of outlines which may be colored and may have colored fills. A good starting point is to use some of the many clipart samples packaged with CorelDRAW®. Many of these can be adapted for embroidery design. See Auto-digitizing.