Modify a design
Once you are used to the steps involved in sewing out designs – either clipart or ones you have purchased – you will soon want to make global design modifications such as resizing, or changing thread colors and fabric types. These are all relatively simple operations. We outline some of the common ones here with reference to the User Guide.
 | Use Standard > Open Design to open an existing embroidery design. |
 | Use Manage Designs > Open Selected to open design(s) selected in the embroidery library. |
Open design
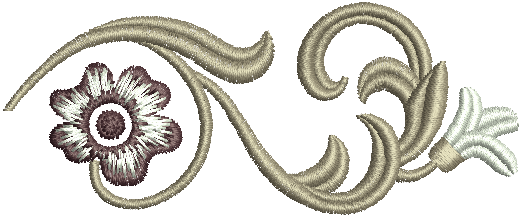
- Open the design you want to use. See Open design files.
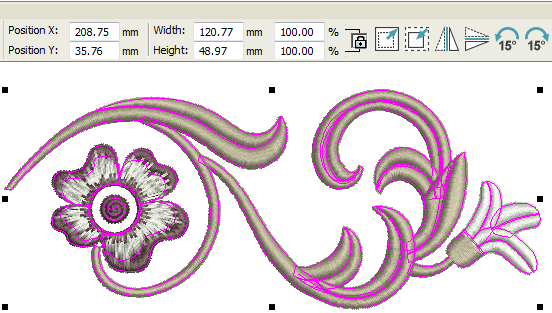
- Press <Ctrl + A> to select all objects and press <Ctrl + G> to group them.
 | Use Design Palette > Change Design Color to show or hide the My Threads docker to find threads from different charts and change design colors. |
 | Use Customize Design > Cycle Used Colors to cycle through combinations of used colors. Left- or right-click. |
Adjust thread colors
Adjust design thread colors as preferred. Try cycling used colors to find a combination that suits the background color of the fabric. See Design colors.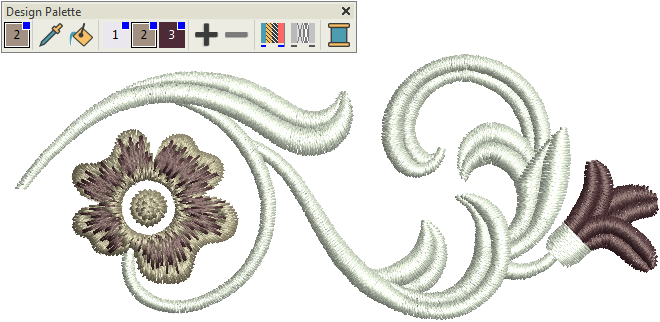
 | Use Context > Size + 10% to increase the size of selected objects in 10% increments. |
 | Use Context > Size - 10% to decrease the size of selected objects in 10% increments. |
Resize design
Check design dimensions, and resize as required. For example, if you are stitching a left chest design, maximum size will be approximately 4.25" or 108 mm square. See Transform objects.
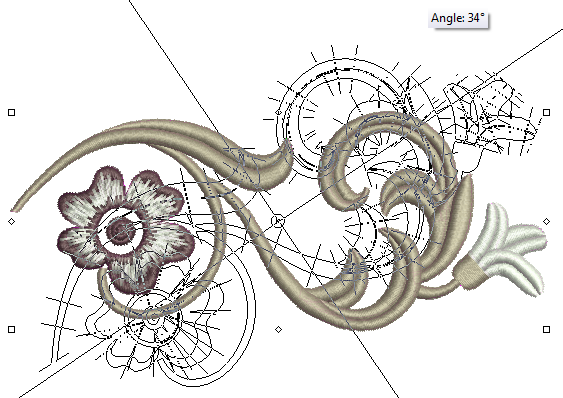
 | Use Context > Rotate Left 15° to rotate selected objects in 15° anti-clockwise increments. |
 | Use Context > Rotate Right 15° to rotate selected objects in 15° clockwise increments. |
Rotate objects
Use selection handles or the Context toolbar to rotate objects into position. See Transform objects.
 | Use Customize Design / Context > Background and Display Colors to set colors, fabrics, or articles as design backgrounds. |
Visualize design
Go to the Customize Design toolbox and use the Design Background tool to visualize the design on a garment or article. See Backgrounds.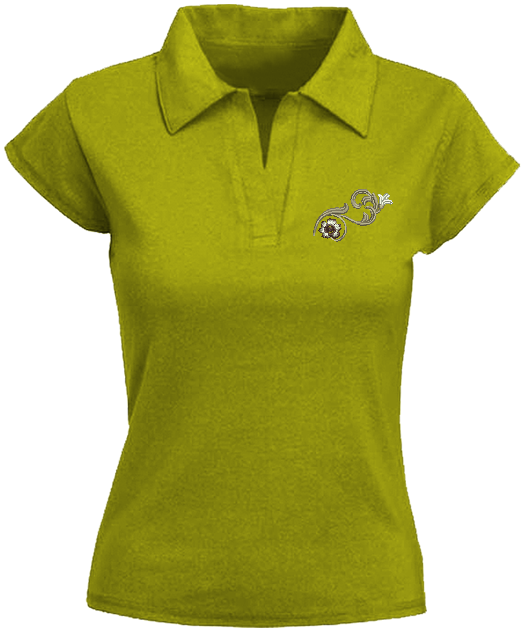
 | Click View > Show Hoop to show or hide hoop. Right-click for settings. |
Hoop design
Choose a hoop via the View toolbar or Context toolbar. Make sure the design fits within the stitching area. See Hoop selection.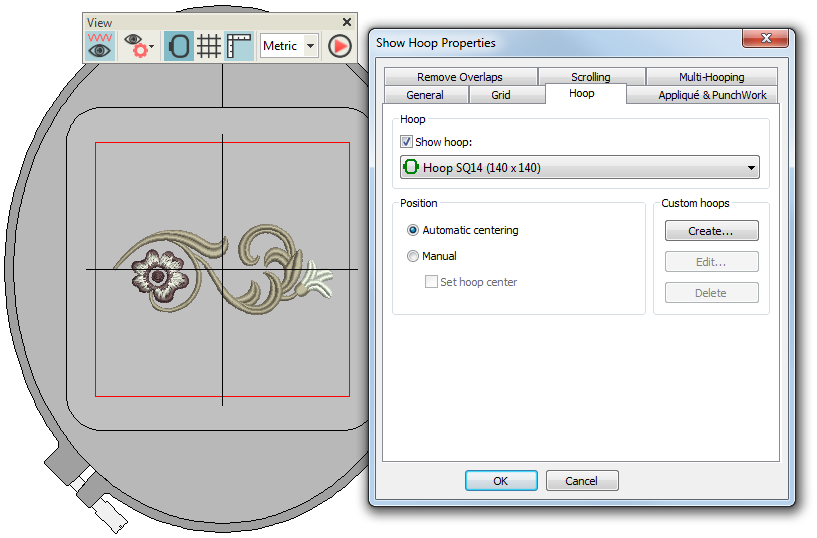
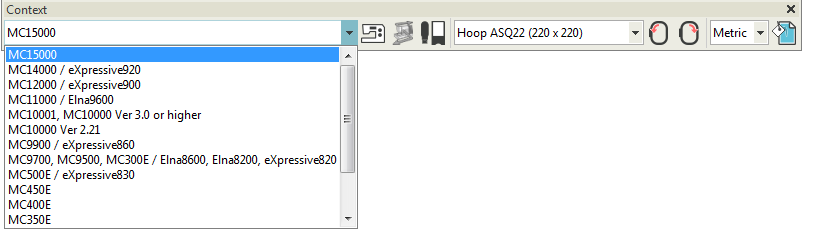
 | Use Output Design / Context > Send a Design to send the current design to your machine for stitching. |
 | Use Output Design / Context > Write to Card/USB to send a design to an external media drive. |
Output design
Send the design to machine directly or via data media (usually memory stick). See Send designs to machine.
Check your machine documentation for steps involved after transferring the design to machine.
