Embroidered bookmark

In this project, you’ll to see how easy it is to make something within minutes with your embroidery software. In this project we look at creating an embroidered bookmark to keep your page and do it in style.
Skill: Beginner
Time: 30 min
Features: Open, view, customize, output
Theme: Gifts
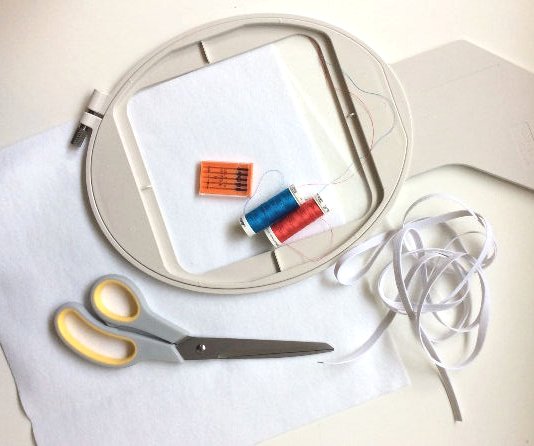 What you’ll need...
An embroidery machine with Hoop to fit 80mm/3” design
A 75/11 sharp sewing needle (general purpose)
2 colors of felt (around 20cm each)
Lightweight no-show mesh cutaway stabilizer
Temporary adhesive spray
2 different colors of embroidery thread
470mm (19inches) of elastic
Scissors
Let’s get started
 | Use Manage Designs > Open Selected to open design(s) selected in the embroidery library. |
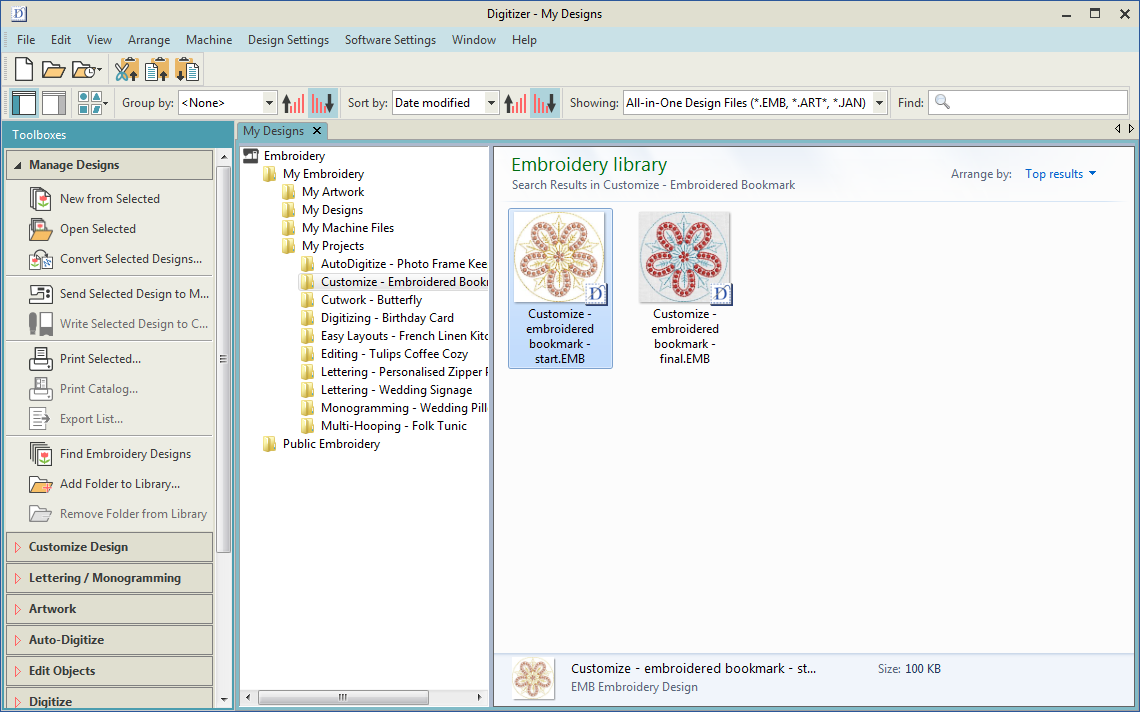
Open bookmark design
- Go to the Windows Start menu or desktop and click the link to your embroidery software.
- Go to the Toolboxes on the left and select ‘Manage Designs’.
- Open the Folder named 'Projects’ and choose 'Customize - embroidered bookmark'.
- Select 'Customize - embroidered bookmark - start' and click Open Selected.
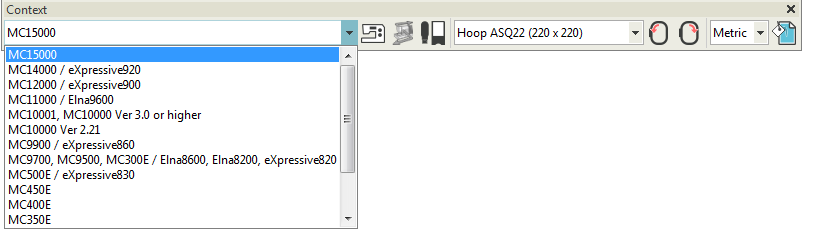
Choose your machine
The software supports various sets of machine model. Some machines can be connected by cable directly to your PC via the USB port. Some read ATA PC cards and/or USB memory sticks. Choose your preferred machine model. This in turn will determine your hoop selection.
Customize the design
Now we’re going to change the settings to suit our fabric, set the correct hoop, and visualize how the finished result will look.
 | Use Customize Design / Context > Background and Display Colors to set colors, fabrics, or articles as design backgrounds. |
Set design background
The design is currently on a white background. This step is optional, but it’s helpful to see how the design will look before you commit.
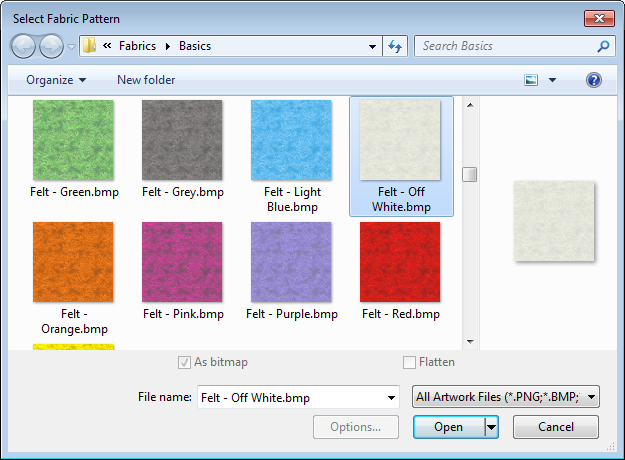
- Go to the Customize Design toolbox and click Background & Display Colors. Alternatively right-click the design window to access the command from the popup menu.
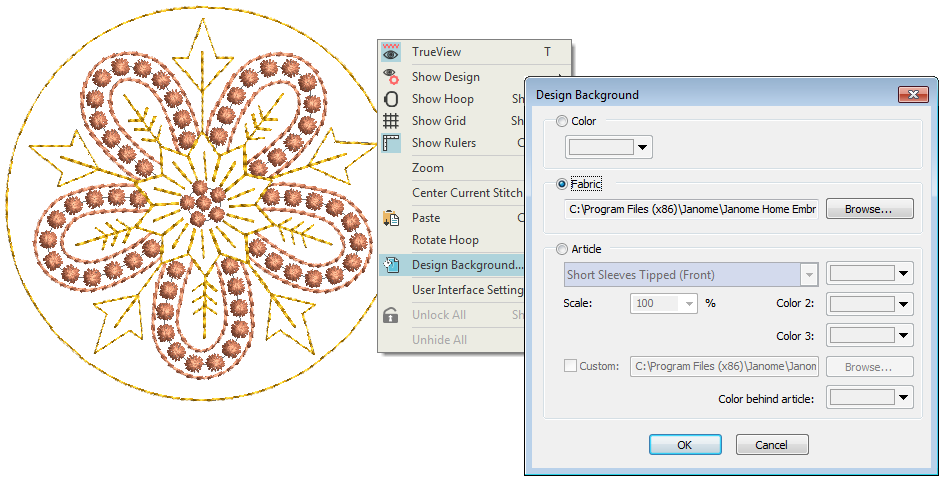
- Select Felt - Off White.
 | Use Customize Design > Auto Fabric to change the properties of the design for stitching on a different fabric. |
Choose fabric type
While the previous step is purely for previewing purposes, this step goes one further, by actually changing to stitch settings to suit your chosen fabric. This design was created for poly cotton, but we’re going to optimize the design for felt.
- In the Customize Design toolbox and click Auto Fabric. Change it to Emblem.
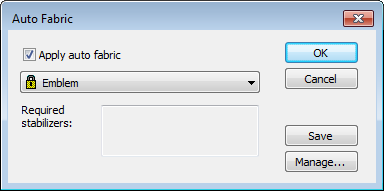
- You will also see what stabilizers and toppings are recommended for each fabric type.
 | Use Design Palette > Change Design Color to show or hide the My Threads docker to find threads from different charts and change design colors. |
 | Use Edit Objects > Resequence Manually to show or hide Resequence docker. Use it to resequence objects and color blocks in a design. |
Re-color design
You’ll notice the My Threads docker on the right side of the screen. This is where you select thread colors for your design. You can set up My Threads to display your own brands of thread and the specific colors you own.
- Select the Resequence docker to view thread colors used in the design in the order they will be stitched.
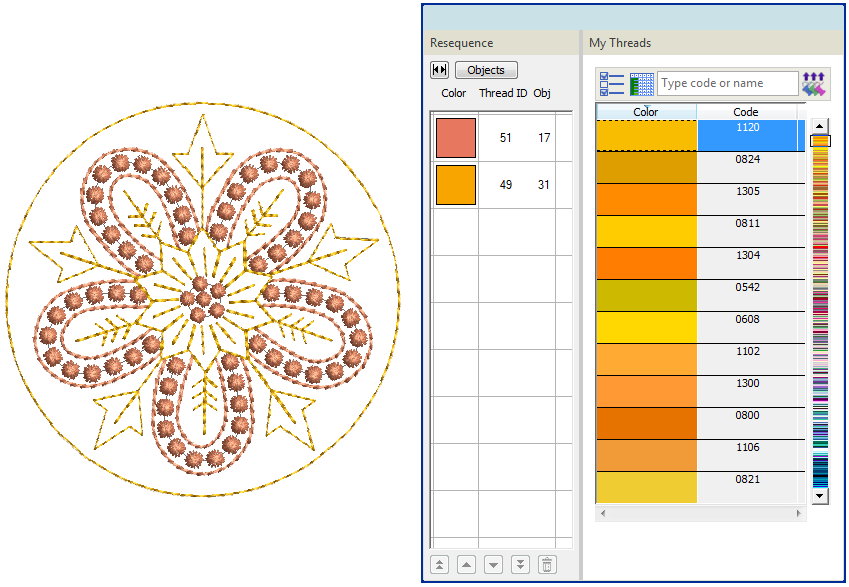
- In the Resequence docker, select the red-brown design component.
- In My Threads, browse through and select a preferred color. Double-click to transfer to the Design Palette.
- Do the same with the orange component.
- Experiment with different combinations. See how they look against the fabric color. You can always click Undo if you don’t like it.

 | Click View > Show Hoop to show or hide hoop. Right-click for settings. |
Select your hoop
Now we’re going to select the hoop that your embroidery machine will use and ensure the design fits within the stitching area.
- Before we choose the correct hoop, let’s find out how big the design is. You’ll notice the dimensions are shown in the black status bar at the bottom of the screen. They are also shown in the Context toolbar if you select the design.

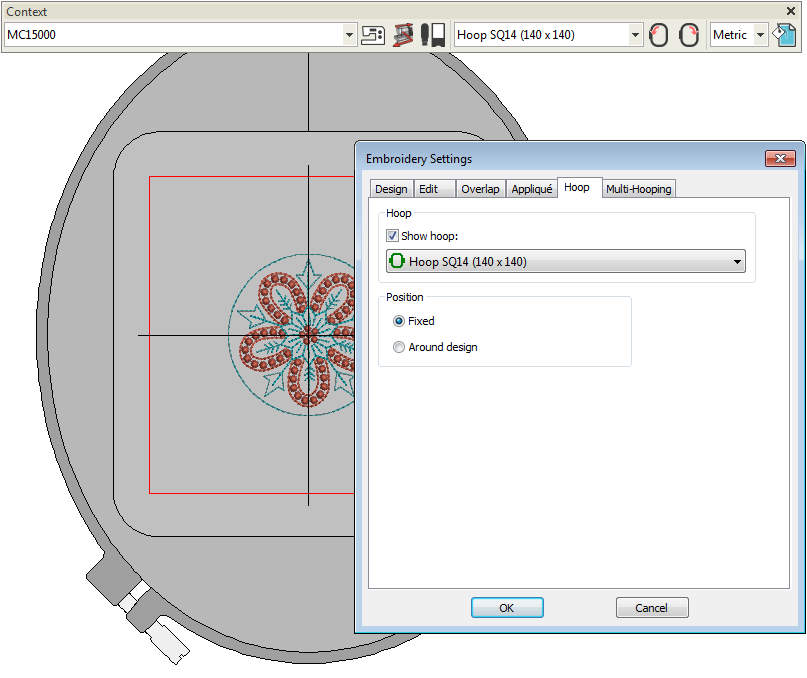
- Click the Hoop icon In the View toolbar. This toggles the Hoop display on or off.
- To choose your preferred hoop, right-click the Hoop icon.
In the Hoop tab, you’ll see a droplist of available hoops. Find and select a hoop that will fit the dimensions of the design.
 | Use View > Stitch Player to simulate embroidery design stitchout onscreen in either stitch or TrueView. |
Simulate stitchout
You can now watch your design stitch right on your screen. This is a very helpful way to see exactly what is going to happen on the machine.
- In the View toolbar, click the Stitch Player icon. The color bar shows you the colors to be stitched in relation to time. You can stop, forward to next color, and speed up.
- Click Stop to exit the Stitch Player.

Output the design
Now we’re ready to send our design to the embroidery machine.
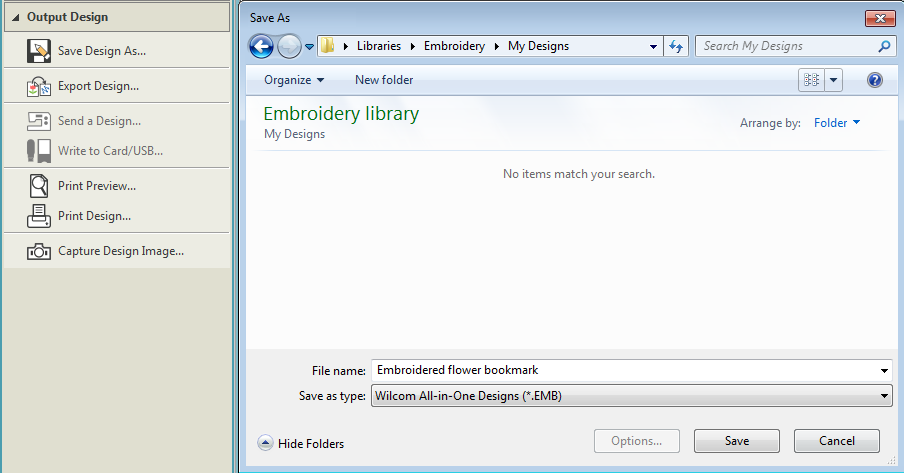
 | Use Output Design > Save Design As to save the current design with a different name, location or format. |
Save your design
Because you’ve changed the original design, you’ll want to save it with a different file name.
- Go to the Output Design toolbox.
- Select Save Design As. This should default to the My Designs folder.
- Save it with a new name and in EMB format to ensure you retain all the information stored in the file.
 | Use Output Design > Export Design to export the current design to a machine file for stitching. |
Transfer design to machine
The software creates designs in a rich EMB file, containing objects, colors and stitch information. This makes it easy to edit later and retain quality. However, embroidery machines only require a stitch file. Machines vary in the types of file format they require.
- In the Output Design toolbox, select the Export Design option. You can then find the format your machine reads. If you’re not sure, check the instructions provided with your machine. The stitch file will be saved in a folder called My Machine files for easy reference later on.
- You can now transfer this file to your machine. This would typically be via USB stick or through a connection application provided with your machine.
Stitch the design
Let’s get stitching!
.
Hoop your fabric
- Cut your felt to be around 50mm/2” larger than the hoop on all sides.
- Cut your cut-away stabilizer to the same size. Spray the stabilizer with temporary adhesive spray and smooth the felt on top.
- Take your hoop and separate the base and top pieces.
- Place both felt and stabilizer on the base piece. Then lay the top piece over it.
- Push the two pieces together, slowing working from the top or opposite end to the tension screws.

.
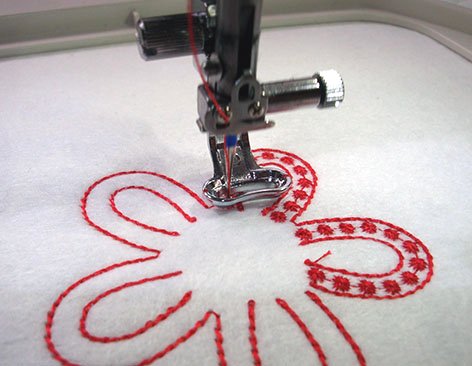
Set up thread & needle
Felt is pretty forgiving, but we’d recommend a general or 75/11 needle. Thread the first color onto your machine. Start stitching!
Finish the bookmark
.
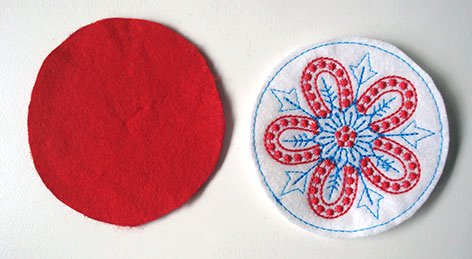
Cut out pieces
- Cut carefully around your embroidered circle, leaving roughly 3mm of fabric around the stitching.
- Print out the circle template PDF provided. Cut it out and use as guide to cut your second piece of felt. It will be larger than the embroidered circle.
.
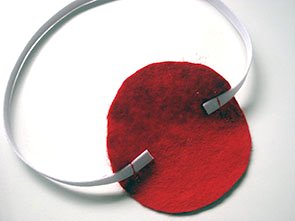
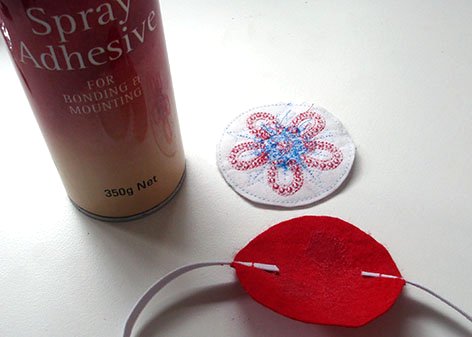
Sew on elastic
- Pin the elastic to either side of the larger, non-embroidered circle, about 20mm in from the edge.
- Sew a straight stitch to secure the elastic to the felt, back-tracking to ensure it doesn’t pull out.
.
Adhere embroidered piece
- Lightly cover the back of the embroidered circle and the front of the larger circle with spray adhesive. Ensure you only spray the center of the larger circle. Because the edges will show, you don’t want them to be sticky.
- When both sides are tacky to touch, place the embroidered circle in the center of the larger circle. Alternatively you could use craft glue.
.
You’re done!
Congratulations! Put your beautiful new bookmark in your current novel, or give it to your favorite bookworm.
By the way, you could also use this design as a brooch, head band, or Christmas ornament.