Edit stumpwork
Once you have created your stumpwork, you can always go back and edit it. A common requirement is to add wirelines for more support. This is simply achieved. Sometimes, you might want to edit a stumpwork sub-design as a whole, changing object sequencing, stitch colors, types, densities, and so on. This too is simply carried out.
 | Use Cutwork / Stumpwork > Digitize Wireline to create a wireline with a digitized outline and current settings. |
Add wirelines
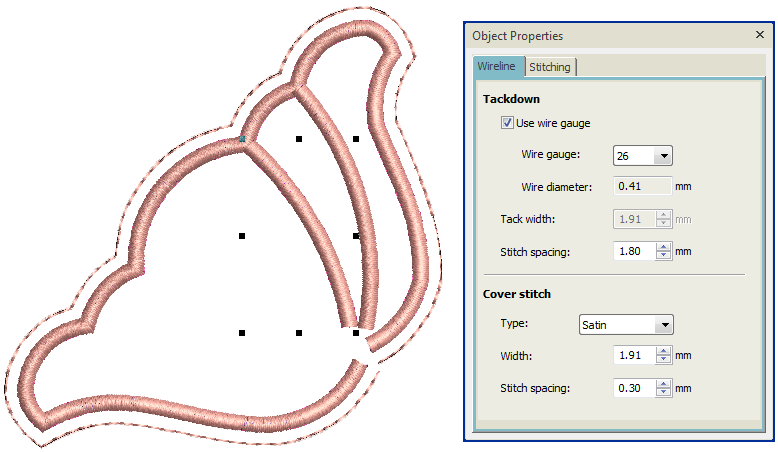
This scenario involves digitizing additional wirelines. Additional wirelines provide more shape to a piece than a simple border wire. They can be added as you create the stumpwork or added to an existing stumpwork sub-design.
- Create stumpwork borders from existing embroidery or digitize manually as preferred.
- Before selecting stumpwork elements and clicking Create Stumpwork Sub-design, select the Digitize Wireline tool. Alternatively, if the stumpwork sub-design already exists, first click Open Stumpwork Sub-design to open it in its own design window.
- Digitize additional wirelines as you would any open object. The software automatically creates the wire placement tracks, wire tackdown and cover stitching.
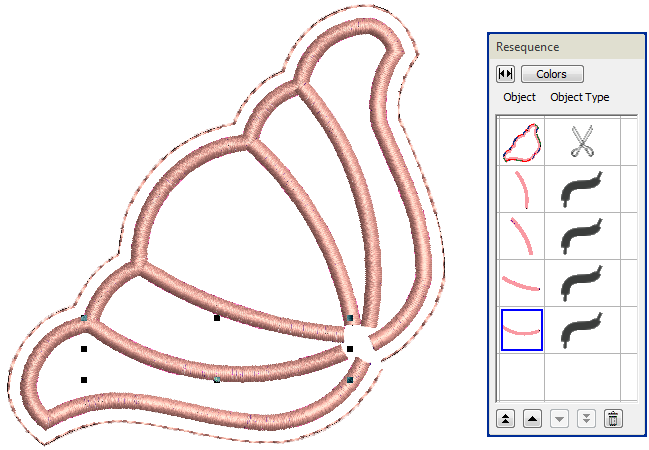
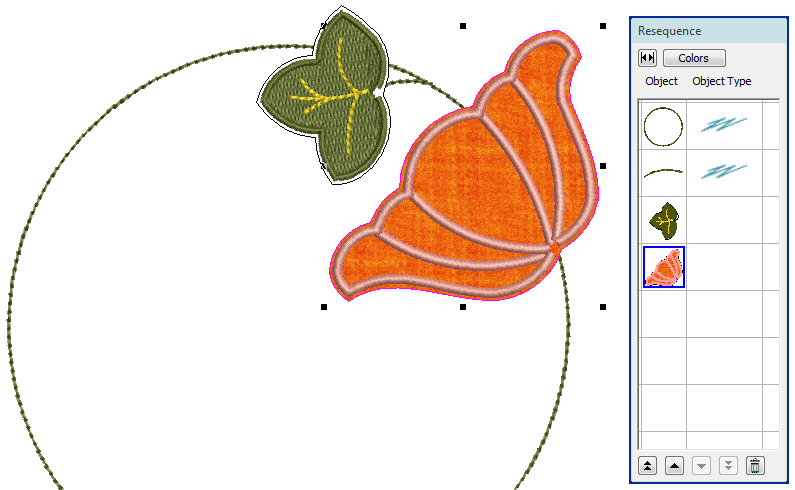
- Sequence objects you want to include in the Resequence docker.
Note that the wirelines shown in the sample above exit very close together. During stitchout, take care not to insert the wire at a point where it may be hit by the stitching needle.
 | Use Cutwork / Stumpwork > Create Stumpwork Sub-design to create sub-design from selected objects which include embroidery within a stumpwork border. |
- Select all objects and click Create Stumpwork Sub-design. If you are editing a stumpwork sub-design, save and return to the base design.
 | Use Cutwork / Stumpwork > Open Stumpwork Sub-design to view and edit selected sub-design. |
Edit stumpwork
Once the Create Stumpwork Sub-design function has been applied, the resulting stumpwork resides on a separate ‘layer’ to the base design. Stumpwork objects can be edited as standalone designs.
- Select the stumpwork object you want to edit.
- Click Open Stumpwork Sub-design. The stumpwork design opens in a separate design window.
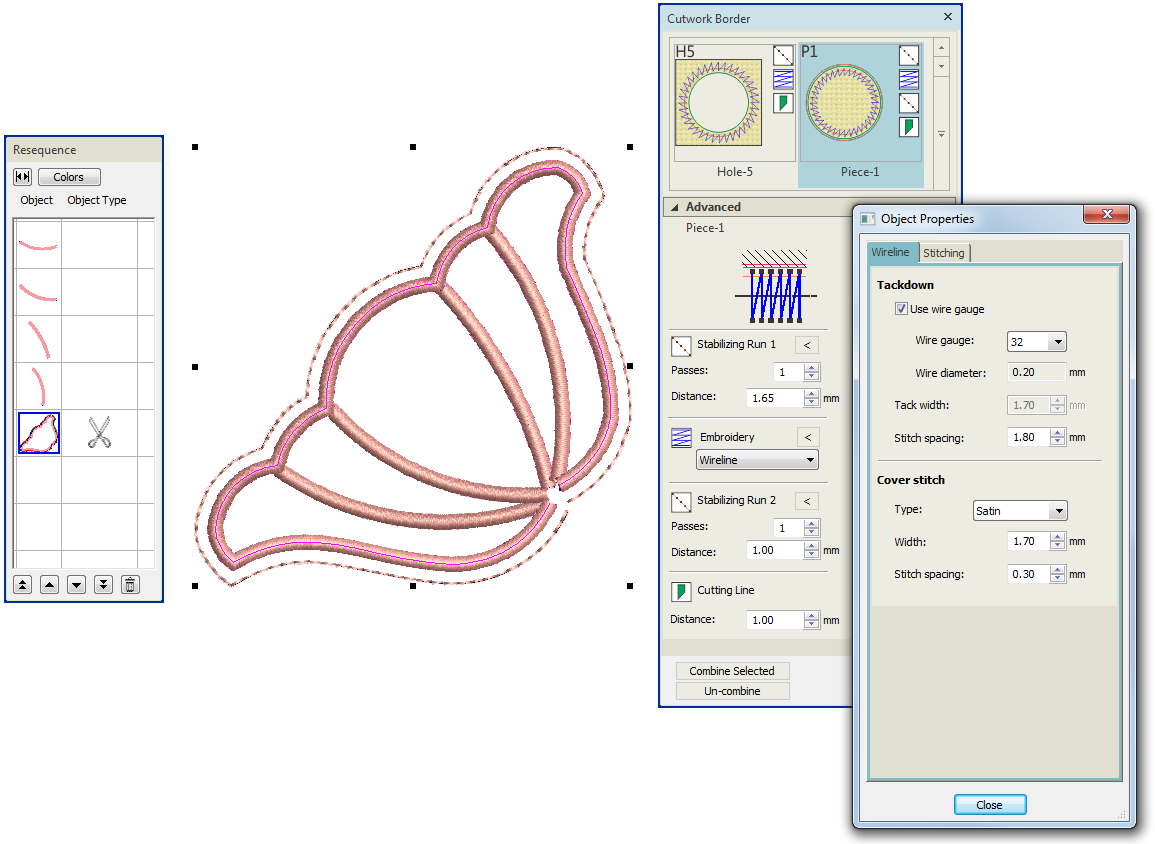
Edit stumpwork borders via the Cutwork docker – e.g. add or remove stabilizing runs or cutting lines.
- Click arrow button to access object properties for each included stumpwork component. Edit properties such as wire gauge, satin cover width and offsets.
| Use Cutwork / Stumpwork > Digitize Wireline to create a wireline with a digitized outline and current settings. |
 | Use Cutwork / Stumpwork > Cut Closed Cutwork Border to cut a closed cutwork / stumpwork border to leave an opening for wire ends. |
- Digitize other objects as desired. Use the Digitize Wireline tool to insert wirelines for extra support and shape.
- Use the Cut Closed Stumpwork Border to cut a selected closed-stumpwork border to leave an opening for wire ends.
- Sequence objects in the Resequence docker as preferred.
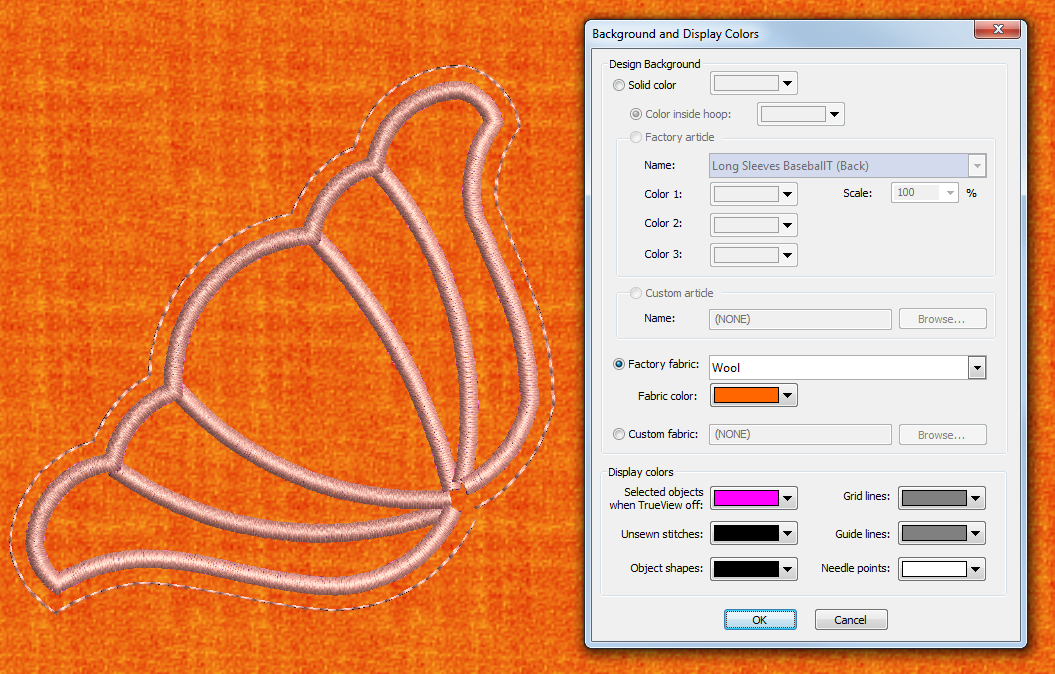
- Use the Design Settings > Background and Display Colors comand to specify a fabric type if you are creating stumpwork with fabric and wire.
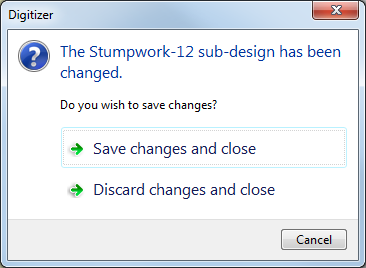
- Close the stumpwork design to return to the base design. Save changes as prompted.
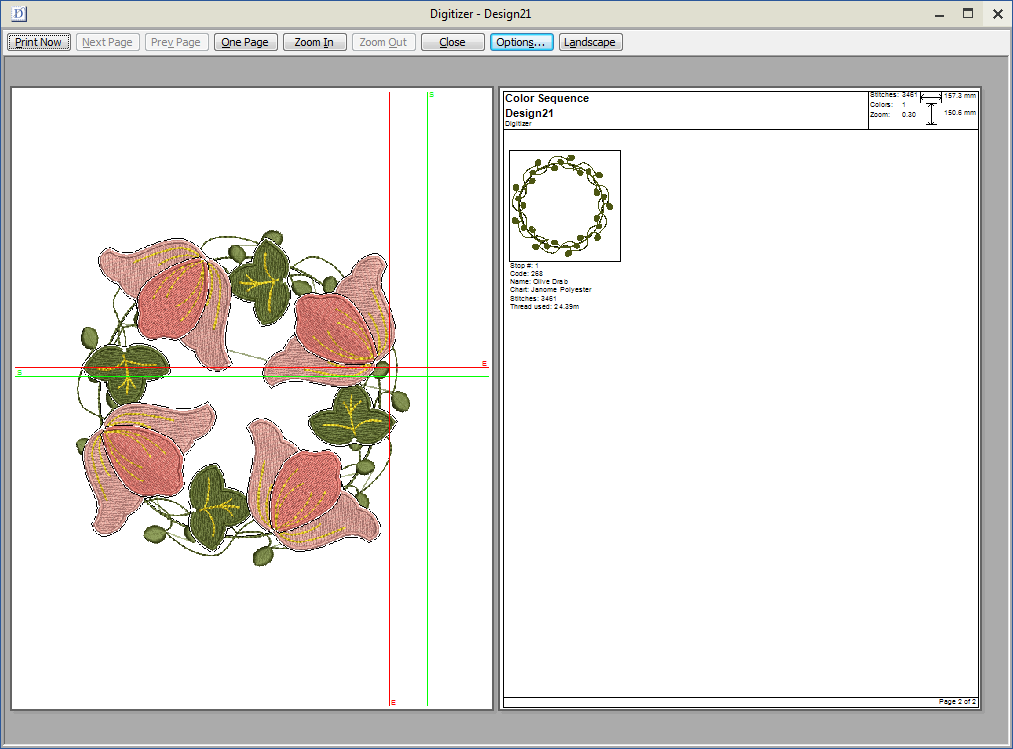
 | Use Output Design / Standard > Print Preview to preview design worksheet. Print from preview window. |
Visualize stumpwork
- Use the Show Designs droplist on the View toolbar to show or hide stumpwork objects within a design.

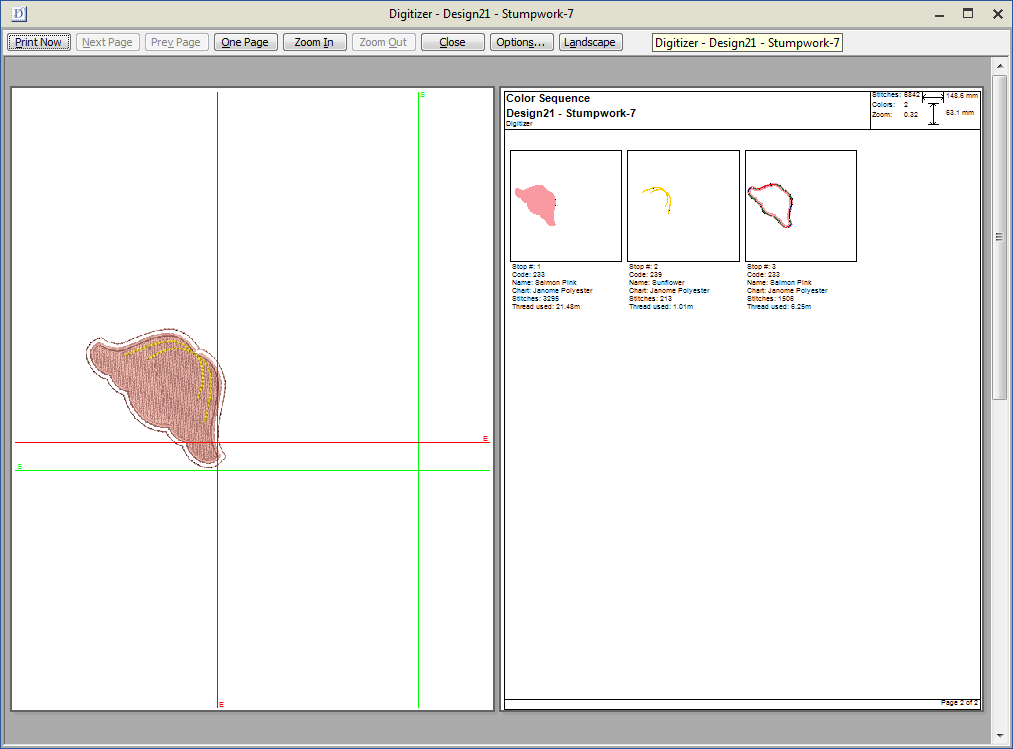
- The worksheet preview shows the entire stumpwork design in preview but only the base design in the Color Sequence.
- To print out a worksheet for the stumpwork portions of a design, open the stumpwork object in its own window and preview it there.
Study the Stumpwork_Floral design included in the designs folder. Try stitching it out to practice the techniques involved. Check your machine documentation.