Work areas
The Work Area feature allows you to arrange multiple embroidery elements on an item or fabric to be sewn. Elements are copied, rotated and placed in a pre-defined work area. See also Birthday card.You can also print out the layout with Cloth Setter marks. Use them to physically lay out designs on the item or fabric you wish to embroider. You can also print a template to position each of the hooped portions of the design.
When used in conjunction with the Multi-Hooping toolbox, you can place multiple hoops around a single layout. See also Multi-hooping.
 | Use Layout > Define Work Area to open the Easy Layout Work Area dialog to define either a rectangular or round work area of a specified size. |
Define work area
Before you can create a design layout, you first need to define a work area corresponding to the item or fabric you intend to sew on. Work areas can be defined as rectangular or circular spaces. The software allows you to define a work area up to 3m x 3m.
- Click the Define Work Area button to open the dialog.
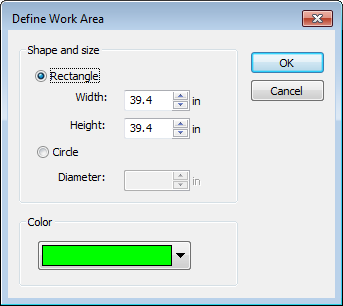
- Select a rectangular or round work area and enter the dimensions.
- Set a background color for the layout matching the fabric you intend to use.
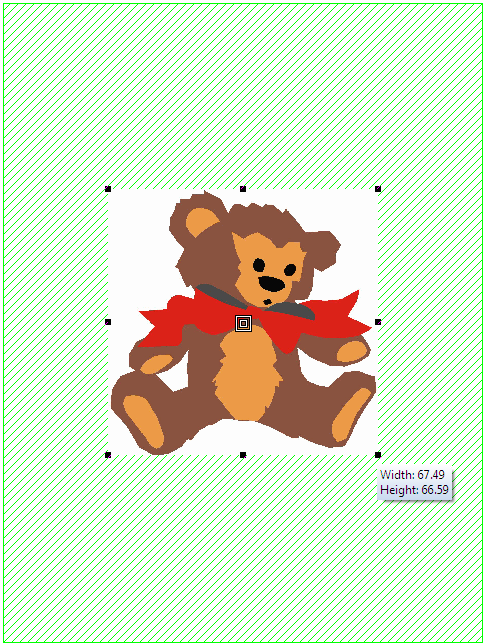
- Insert and size artwork as required.
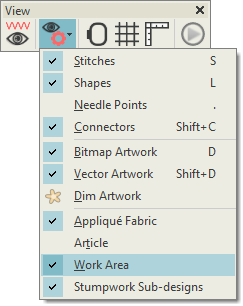
 | Use View > Show Design to show or hide design elements. Click to open droplist of view settings. |
Activate work area
Use the Show Design droplist to activate the work area as needed.
 | Use Layout > Mirror-Copy to Work Area Corners to copy selected object/s to each corner of the layout work area. |
 | Use Layout > Auto Center to Work Area to automatically move selected object/s to center of the work area. |
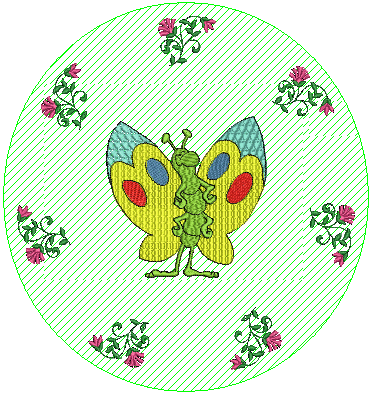
Create rectangular layout
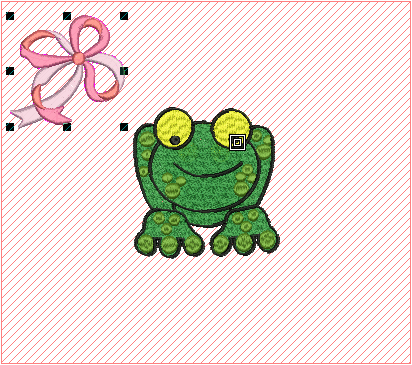
Create large rectangular layouts with selected design/s and/or object/s. Designs are automatically copied, rotated and placed in the work area. Display the layout work area.
- Insert a design and position it carefully within the work area.

- Select a Mirror-Copy method. Each copy is mirrored about the vertical or horizontal plane.
- Left-click or press <Enter> to confirm.
- Insert or create additional designs as required.
- Use the Auto Center tool to automatically move selected object/s to the center of the work area.
If you want the selected objects to sew out in separate hoopings, make sure they are grouped before proceeding. Otherwise, they will be color-optimized for a single stitchout – i.e. color block by color block.
 | Use Layout > Circle Layout to duplicate selected objects around a center point. Specify number of duplicates in the Context toolbar. |
 | Use Layout > Circle Layout to Work area to duplicate selected object/s around center of the work area. Specify number of duplicates in the Context toolbar. |
Create circular layout
Instead of the Mirror-Copy to Corners method, choose the Circle Layout method. The technique is essentially the same, except that you can specify the number of copies in a spin box.
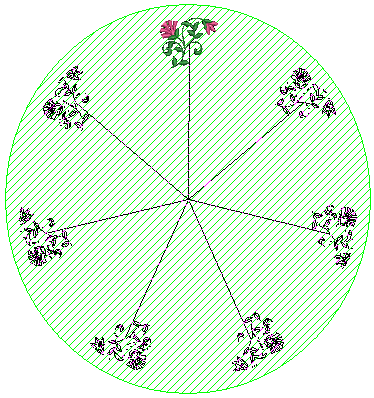
Left-click or press <Enter> to confirm. Insert or create additional designs as required.