Below are instructions for installing the software on your PC. If you are changing your software from Version 3/4 to Version 5, you will need your previous version hardware dongle. and attach it to the PC when prompted. It will no longer be working after the update process.
Before you start
Make sure you have the following before commencing with the installation...
- Installation DVD
- Software product key which is located in the DVD case.
- If you are upgrading, you will need your previous version hardware dongle. Do not attach until prompted.
- When you install the software, you will be prompted to reboot your PC to complete the installation. Make sure that you save any files and close all applications beforehand.
Integration with CorelDRAW®
Note that your embroidery software comes together with a complete installation of CorelDRAW®. In fact it provides seamless integration with CorelDRAW, allowing you to take full advantage of the CorelDRAW® Graphics Suite capabilities from within your embroidery software. CorelDRAW is the most popular vector-based drawing package for the decorated goods industry. It features ‘best-of-breed’ bitmap-to-vector tracing, enhanced illustration capabilities, photo-editing together with a library of professional clipart images.
The built-in CorelDRAW Graphics window includes the entire suite of CorelDRAW drawing tools which offer many techniques for drafting outlines and shapes on screen. Vector objects can be converted to embroidery designs. For a detailed description of the CorelDRAW interface, refer to the electronic User Guide available via the Windows Start > Programs group. Alternatively, use the onscreen help available from the CorelDRAW Graphics Help menu.
Installation
- Ensure your computer meets the technical requirements for the software. See System requirements.
- Close all MS Windows® applications and temporarily disable your anti-virus software.
- Insert the Installation DVD-ROM. The installation program should start within 30 seconds and a welcome screen displayed.
- Follow the onscreen instructions to complete the installation. You will be prompted to choose:
- where the software will be installed on your PC (default location recommended).
- which components will be installed – e.g. additional languages.
- which documentation files will be installed.
- Reboot the PC when prompted. Save any files and close all applications beforehand.
- Double-click the icon on the desktop to start the software for the first time.
A CorelDRAW configuration message will appear. Click OK.
When prompted, enter the product key (located in your installation DVD case) and your registration details in the fields provided.
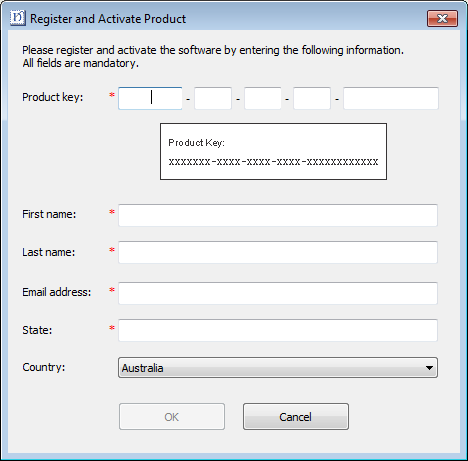
- Click OK and the software will connect to our activation server to activate the software.
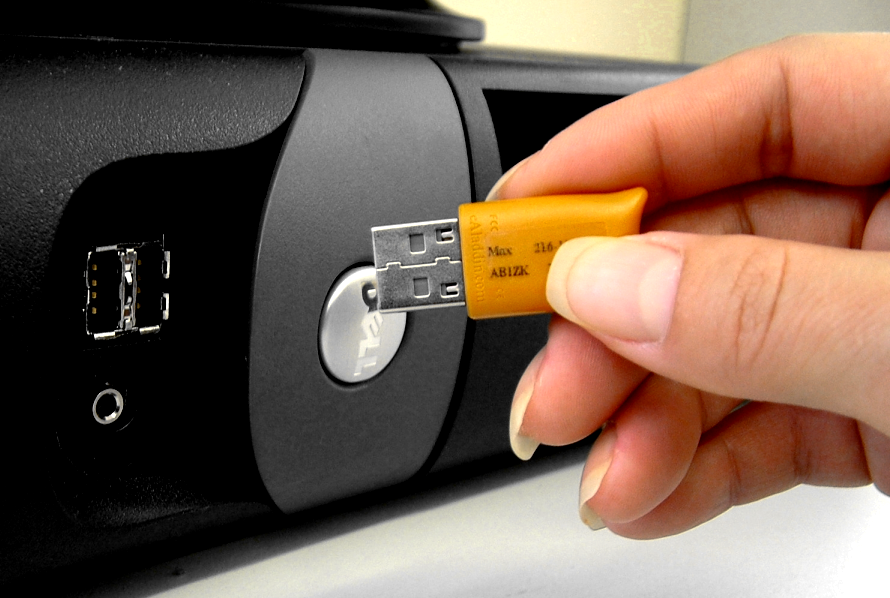
- If you have purchased an upgrade kit, attach the old hardware dongle when prompted.
- Once activated, you can now use the software.
- When the new software is correctly running, discard the old dongle if you have one.
Modify installation
Whether you are upgrading your current software or wanting to uninstall it, you follow the same procedure. When you run the installation program again, it will automatically detect if there is an existing copy of the software on your system and give you an option to modify, repair or remove it. This will prevent the installation of more than one release version of the software on your computer. To modify an existing installation...
- Close all MS Windows® applications but leave Windows running.
- Insert the Installation DVD-ROM.
- If the software is already installed on the computer, you will be prompted to:
- Modify: change selection of installed components
- Repair: reinstall same components
- Remove: uninstall the software.
Software activations
With every licensed copy of the software, you will have three (3) activations. The spares are available for hardware failures.
Comments