
Create lettering
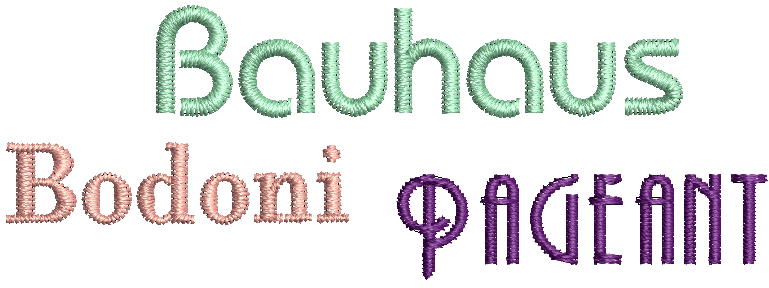
The software lets you add lettering to designs quickly and easily using the built-in library of embroidery fonts. Select from the supplied alphabets or convert TrueType or OpenType fonts. If you are embroidering on a child’s outfit you might use a simple alphabet like Curly. If you are embroidering on a ladies nightdress you might use an elegant script alphabet like Royale. Apply formatting to lettering objects in the same way as a word processor, including italics.
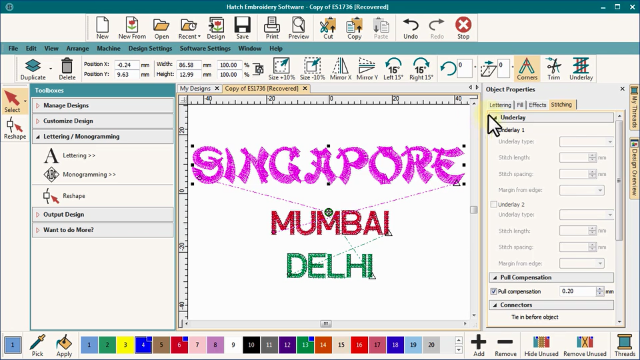
Set underlay, change colors, pull compensation, and connectors using Object Properties. This week we are continuing to take further steps into lettering.Click the thumbnail to read more or right-click to open the link in a new tab... |
|
 | Use Lettering / Monogramming > Lettering to create embroidery lettering using embroidery fonts or TrueType fonts, or edit selected lettering. |
Add lettering
Place lettering on horizontal or vertical baselines, curve it around a circle or arc, or digitize your own baseline curves. Apply formatting to lettering objects in the same way as a word processor, including italics, bolding, and right/left justification. The software provides a font range suitable for many applications.
- Select a color. See Design colors.
- Click the Lettering tool, click the design window, and start typing. Note that the 0,0 point shown in the design window ruler defaults to the center of the screen. If you have moved the center point for any reason, the lettering object will still appear at center screen. If necessary, select and move to the required location in the design. To start a new line of lettering directly in the design window click Shift > Enter.
- Alternatively, enter the text you want to embroider in the Lettering tab. To start a new line of lettering, press <Enter>.
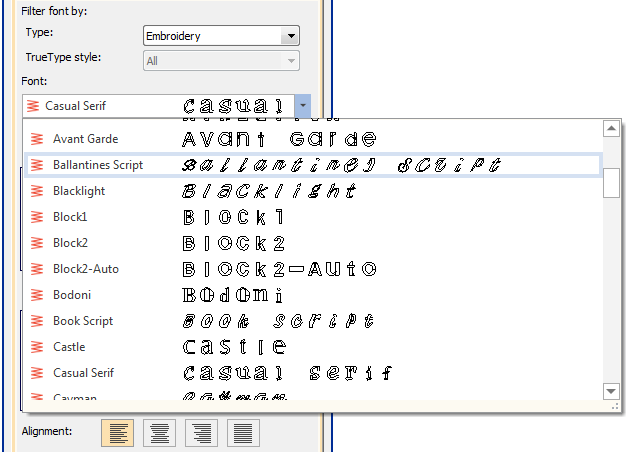
- Select a font from the Font list. You can use both native embroidery fonts or any TrueType font installed on your system. Native fonts generally offer better results. Use the filter to sort the font list for easier selection. Preset the font type - embroidery or TrueType. TrueType fonts can be further filtered by style - block, serif, etc.
- Use the arrow keys to scroll through the font list with or without the preview panel opened. Try out different fonts 'on-the-fly'.
- You can modify lettering objects directly on-screen to achieve various artistic effects. Appearance and layout depend on current settings.
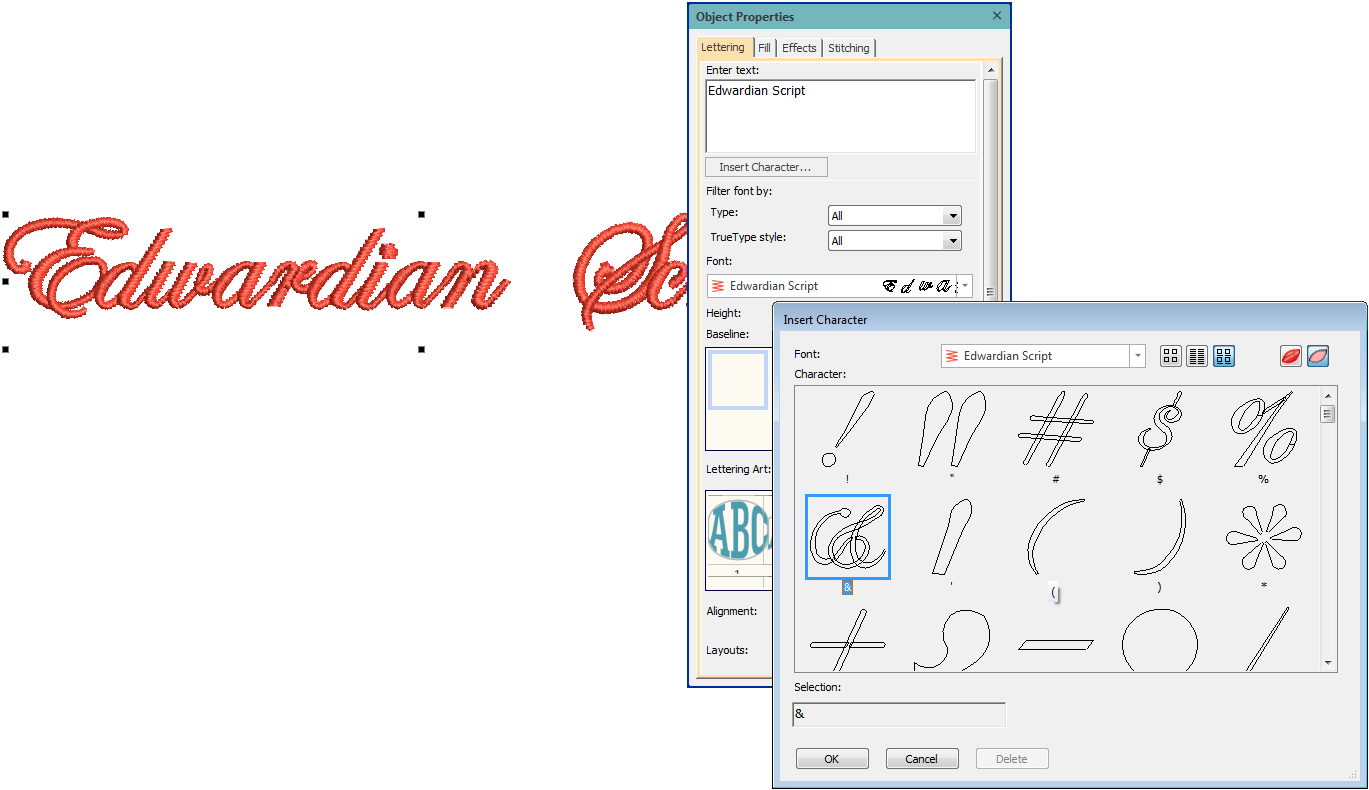
Embroidery and TrueType fonts generally contain many more characters than are available via your keyboard. Click Insert Character to add special characters and symbols via the dialog.
Select a lettering baseline. You can place lettering on a straight horizontal or vertical baseline, curve lettering around a circle or arc baseline, or digitize your own. See also Lettering layouts.
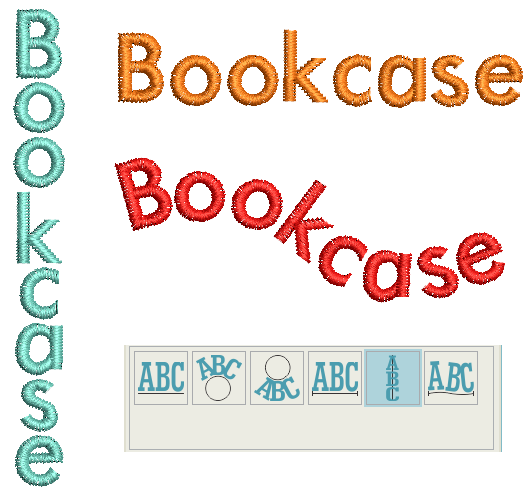
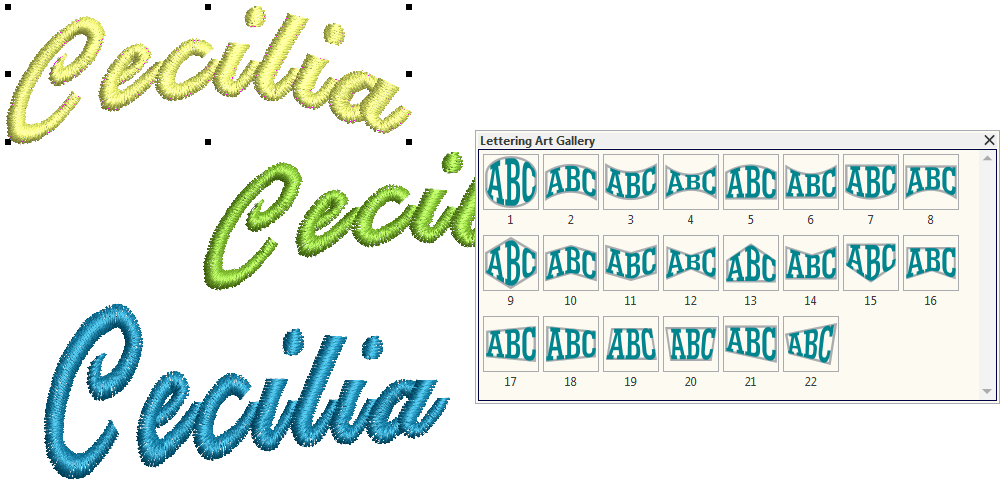
- The Lettering tab contains a number of preset 'lettering art' styles which can be applied to lettering to make it bulge or arch, stretch or compress. The effect is best used with a fixed line baseline. See also Lettering layouts.
Adjust lettering height as preferred. Consider the font before changing letter size. Some fonts look best in a smaller size. Others can be stitched at a larger size.
Select an alignment setting. Alignment governs the way lettering aligns itself along a baseline. Full alignment spreads letters out to fill the length of the baseline.
Lettering join method
The lettering join method is preset to give the best results for each font. Options include:
Join | Purpose | |
|---|---|---|
| Bottom join | BJ | Letters are joined along the baseline. Use it when stitching on towelling – joins are hidden in the pile. |
| Closest join | CJ | Letters are joined at the closest point. Use it to minimize trims. |
| As digitized | AD | Letters are joined as they were digitized. Use it with fonts combining different fill stitch types or special effects. |
In most cases, Closest Join is used in order to minimize trims...
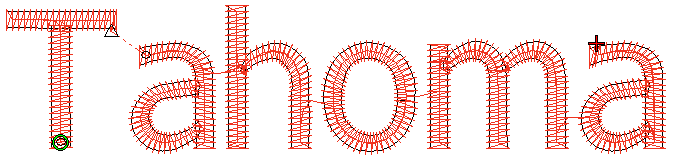
Lettering objects normally consist of one stitch type and one color only. However, the As Digitized join method is used with special fonts which combine several stitch types – e.g. Satin with Run, or Tatami, or Motifs.

The As Digitized setting may also be used with fonts which include multiple colors or special effects. Such fonts may include machine functions, as for two-color fonts, or run stitches as part of the cover stitching.
The Included Fonts section lists all fonts that are standard with your embroidery software. For best results when stitching, do not exceed the recommended maximum or minimum sizes. The font tables also indicate the join method used. See Included fonts.
.
Advanced settings
Adjust lettering Width and Italic settings in the Advanced panel. See also Reshape lettering.
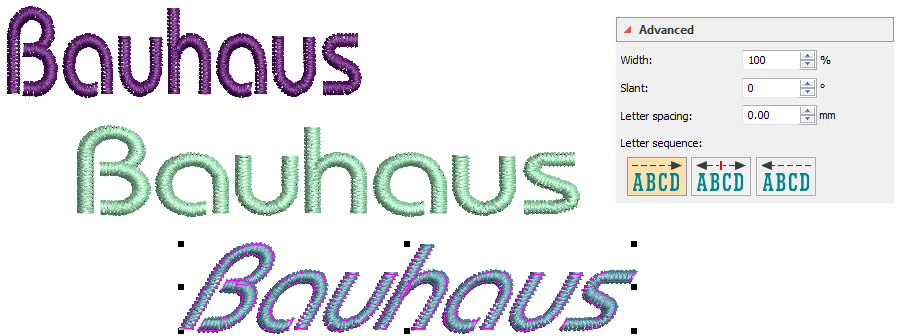
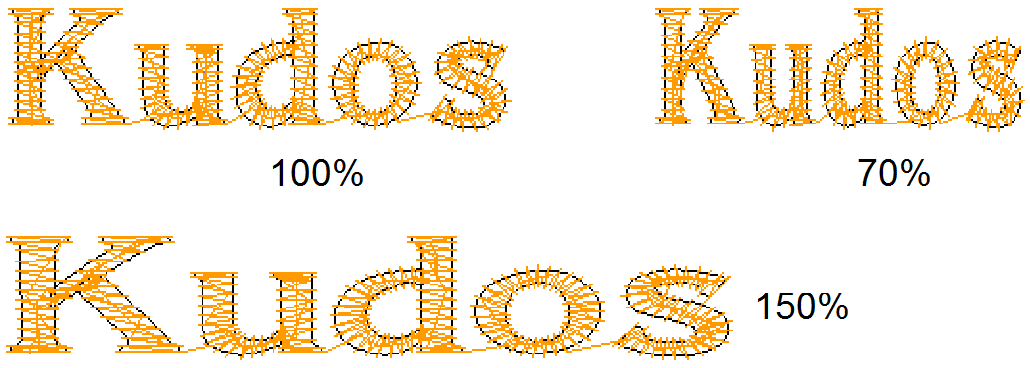
Lettering width
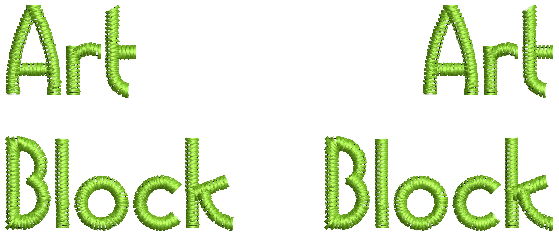
Change the appearance of a font by changing the letter width in proportion to height. The default Width value is 100%.
Italics
You can slant letters to the left or right for an italic effect. The default italic angle is 0° which is equivalent to no italics.

Letter spacing
The spacing between letters is calculated automatically as a percentage of the letter height. In most cases the default spacing is adequate. Sometimes, however, you may want to change the overall letter spacing for effect or to fit within a fixed baseline.

.
Letter sequence
The software allows you to specify the sequence in which letters are stitched to minimize registration problems with caps or difficult fabrics. Stitch the lettering from left or right, or from center out. This is especially useful when stitching on caps. To change letter sequencing, double-click a lettering object. Select a letter stitching sequence in the Advanced panel. Options include:
 | Left to Right | When selected, lettering is stitched from left to right (the default). |
 | Center Out | When selected, letters to the left of center are stitched first, going from right to left. Next letters to the right of center are stitched, going from left to right. |
 | Right to Left | Lettering is stitched from right to left. |
Travel through your design to check the stitching sequence. See also Travel through designs.
.
Insert color changes
The software lets you insert a color change on any stitch. A color change is inserted at the current cursor position. This is particularly useful when working with monograms or other lettering objects. To edit lettering on screen...
- Select the object and click the Lettering tool. An I beam will appear.

- Select a letter (or letters) by dragging the cursor over the letter.

- Select a color on the Design Palette.
- To remove unwanted color changes, simply select the entire object and select a color on the Design Palette. The object reverts to the chosen color.
You can also insert a color change between two letters by keying a caret (^) symbol in the text entry field of the Lettering tab. Subsequent letters default to the next color in the Design Palette.
