Reshape lettering
 The Select and Reshape Object tools give you precise control over your lettering appearance. Scale lettering on screen. Adjust letter, word and line spacings. Modify baselines. Even transform and reshape individual letters.
The screen illustrations in this publication are intended as representations, not exact duplicates of screen layouts generated by the software. The samples used to illustrate software features and capabilities may not be exactly duplicable, depending on your product level.
.
Summary of methods
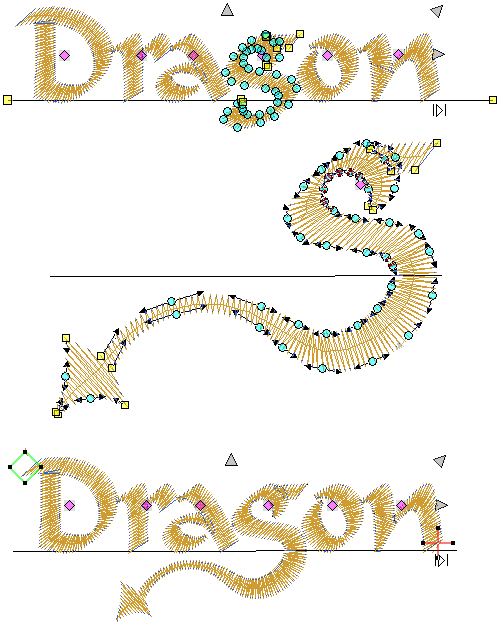
Lettering objects can be reshaped like any other embroidery object by means of Select and Reshape tools. However, in Reshape mode, additional control points are available due to the properties of lettering objects. For instance, lettering objects include spacing between letters. They also have baselines which have their own properties.
 | Use Select > Reshape to reshape an object shape, edit stitch angles, adjust entry and exit points, or customize envelopes. |
In Reshape mode, control points allow you to...
 |
|
 | Use Select > Select Object to select an object or group. Or drag a selection marquee to select multiple enclosed objects or groups. |
In single-click Select mode, control points allow you to...
 |
|
In double-click Select mode, control points allow you to...
 |
|
.
With a lettering object selected, the Context toolbar also provides methods for adjusting object width, height, size, skew, and orientation. You can even flip lettering objects horizontally or vertically.
| Use Select > Select Object to select an object or group. Or drag a selection marquee to select multiple enclosed objects or groups. |
| Use Select > Reshape to reshape an object shape, edit stitch angles, adjust entry and exit points, or customize envelopes. |
Scale lettering
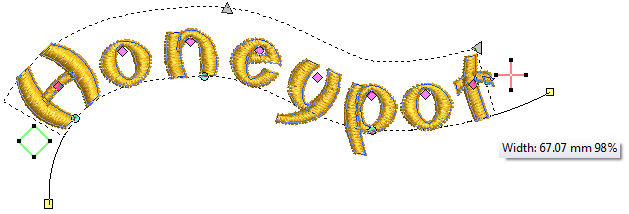
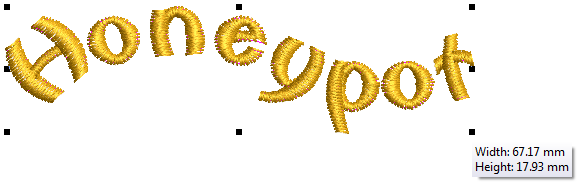
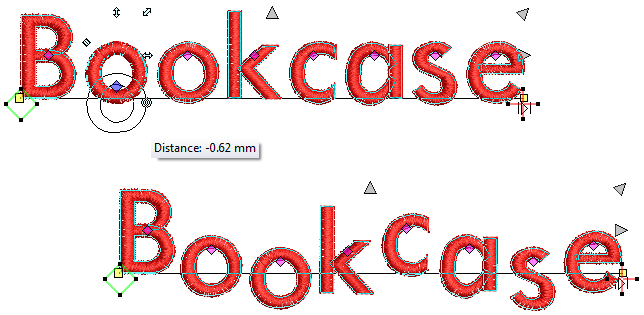
Scale your lettering objects vertically, horizontally and proportionally by means of the Select tool.
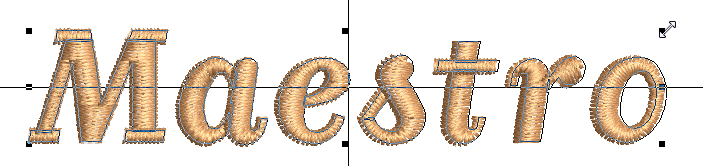
You can also scale lettering objects with the Reshape tool.
The Context toolbar provides an alternative method for scaling lettering, both by precise dimensions or by scale factors of +/-10%.
.
Rotate lettering
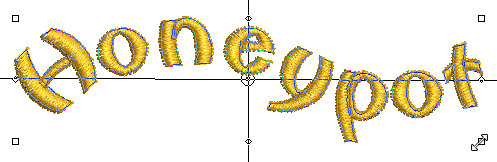
Rotate lettering objects by means of the Select tool.
Alternatively, use the Reshape tool to rotate lettering objects by means of baseline control points.
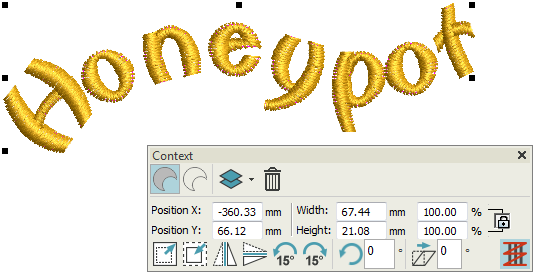
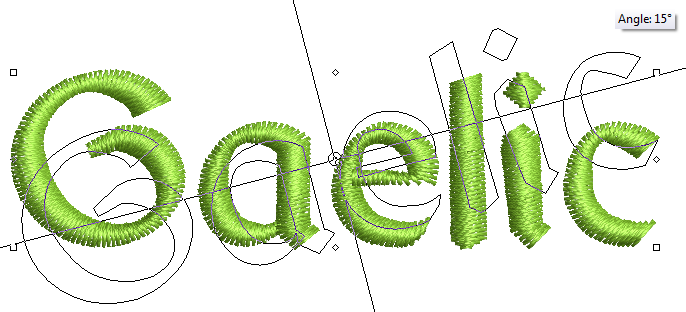
The Context toolbar provides an alternative method for rotating lettering, both by precise rotation angle or by rotation factors of +/-15°.
| Use Select > Reshape to reshape an object shape, edit stitch angles, adjust entry and exit points, or customize envelopes. |
Adjust spacings
Letter spacing is calculated automatically according to justification – Left Justification, Right Justification, Center Justification, or Full Justification. In most cases default spacing is adequate. Sometimes, however, you may want to change overall letter spacing. Drag the spacing control handle on the baseline to adjust overall letter spacing.

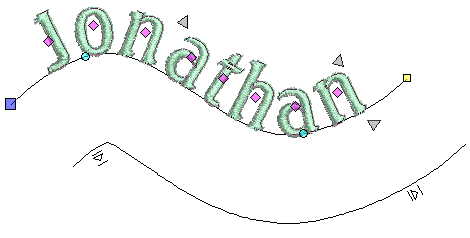
Sometimes spacing between letters may appear too large or too small, depending on the shape of neighboring letters. Any Shape baselines in particular have a tendency to squash or stretch letter spacing around corners. To compensate for this visual effect, you can manually adjust letter 'kerning'. Simply click and drag the triangle control point in the center of each letter.

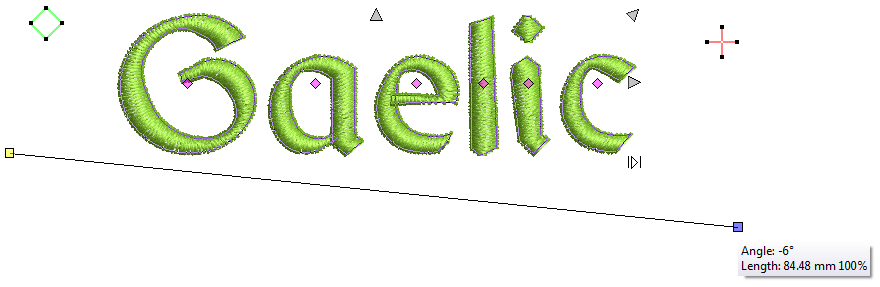
When lettering is set to Full Justification, letters are evenly distributed along the baseline. To change spacing for fully justified lettering, simply change the length of the baseline by dragging the yellow control handle.
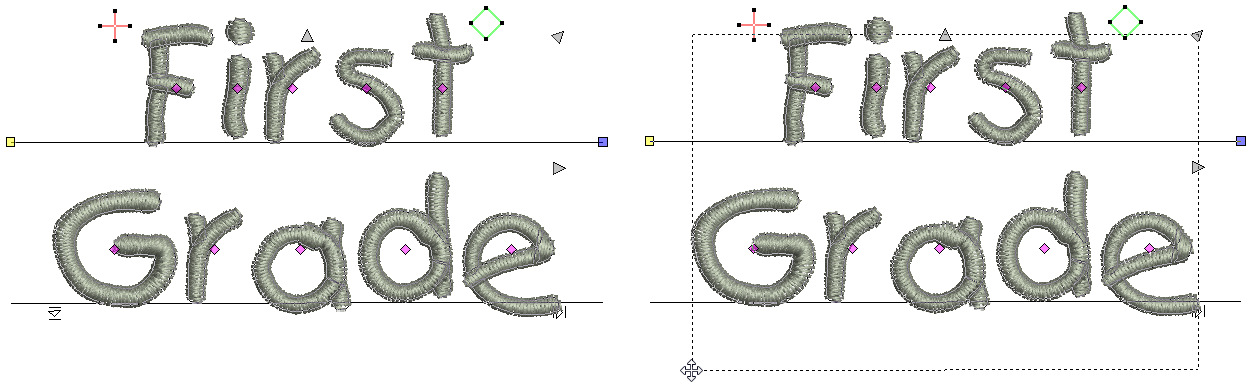
Change the space between lines in a multiple-line lettering object using the Reshape tool. Drag the triangular line spacing handle up or down to change line spacing.
Overall letter spacing can also be controlled numerically in the Advanced panel of the Lettering tab. Line spacing can only be controlled by manual adjustments on screen.
| Use Select > Select Object to select an object or group. Or drag a selection marquee to select multiple enclosed objects or groups. |
| Use Select > Reshape to reshape an object shape, edit stitch angles, adjust entry and exit points, or customize envelopes. |
Reshape baselines
Lettering baselines have their own control points. In addition those mentioned above, some baselines have other properties.
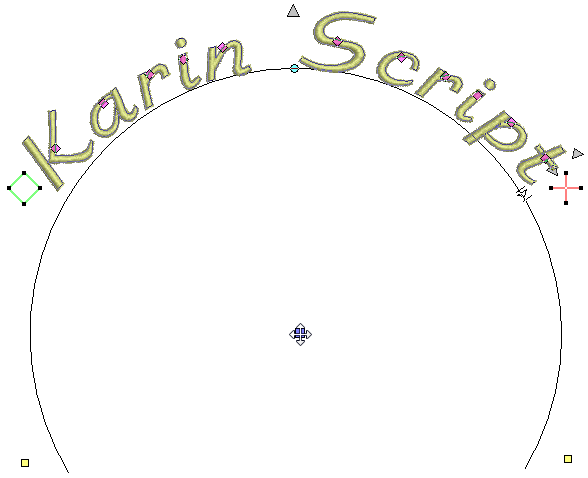
To adjust the arc of a circle baseline, drag the control point in the center. This control has no numeric equivalent.
- Any Shape baselines can be modified by moving, changing, adding or deleting control points along the baseline. To reshape the baseline, click the point on the baseline where you want it to bend (change direction). Left-click to bend the line at an angle. Right-click to bend the line into a curve. Switch control points in the normal way by selecting and pressing the <Space> key.
| Use Select > Reshape to reshape an object shape, edit stitch angles, adjust entry and exit points, or customize envelopes. |
Adjust letters
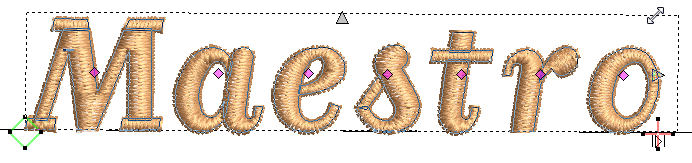
You can reposition individual letters in a lettering object using the Reshape tool. Simply click and drag the selected diamond control point:
- To move horizontally, drag along the baseline.
- To move vertically, hold down <Shift> as you drag.
- To move the letter freely, hold down <Ctrl> as you drag.
When you click a diamond control point, another set of reshape nodes appears around the selected letter. Use these to resize, rotate, and skew individual letters.
![]()
| Use Select > Reshape to reshape an object shape, edit stitch angles, adjust entry and exit points, or customize envelopes. |
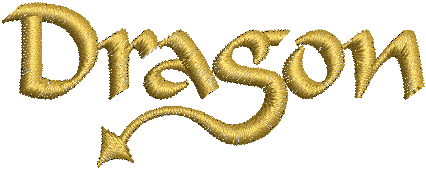
Reshape letters
Create special lettering effects by reshaping letter outlines with the Reshape tool. Click the letter outline. Use the reshape nodes to modify the letter like any other object. Press <Esc> to finish.