
Sew an existing design
For many embroiderers, it is enough to take an existing design and stitch it out. This is certainly where most will start. Once you have found a design you like, you will want to preview it to see how it will sew out. A number of steps are involved. We outline the main ones here with reference to the User Guide.
 | Use Manage Designs > Open Selected to open the design(s) selected in the Design Library window. |
 | Use Manage Designs > New From Selected to create new design(s) based on the selected design(s) and/or bitmap(s) from a chosen template. |
Study sample designs
Open a design from your Embroidery Library. See Open design files.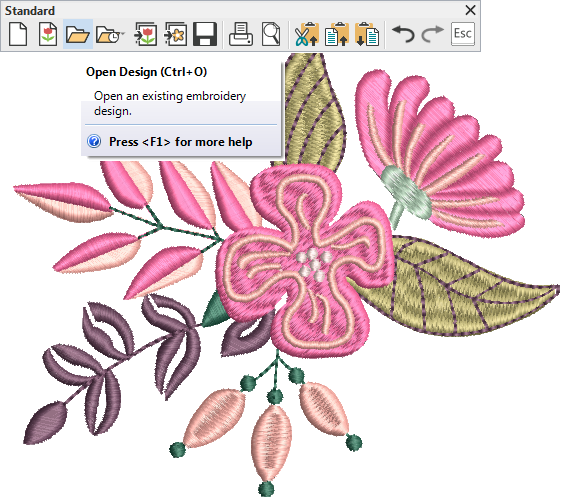
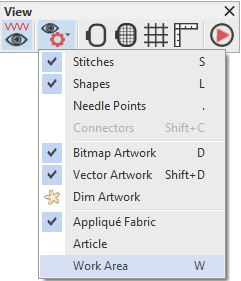
 | Use View > Show Design to show or hide design elements. Click to open droplist of view settings. |
 | Use Customize Design > Auto Fabric to change the properties of the design for stitching on a different fabric. |
Change fabric type
Check the fabric type and change as necessary via the Customize Design toolbox or Design Settings menu. See Fabrics & densities.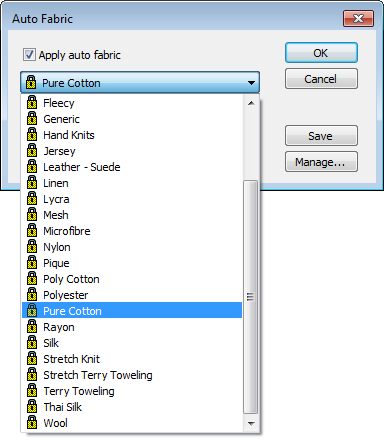
 | Use Design Colors > Threads >> to toggle Threads docker display. Use it to find threads from different charts and change design colors. |
Assign threads
Go to the Design Colors and check the thread colors. If necessary, change charts to suit one you are using. See Design colors.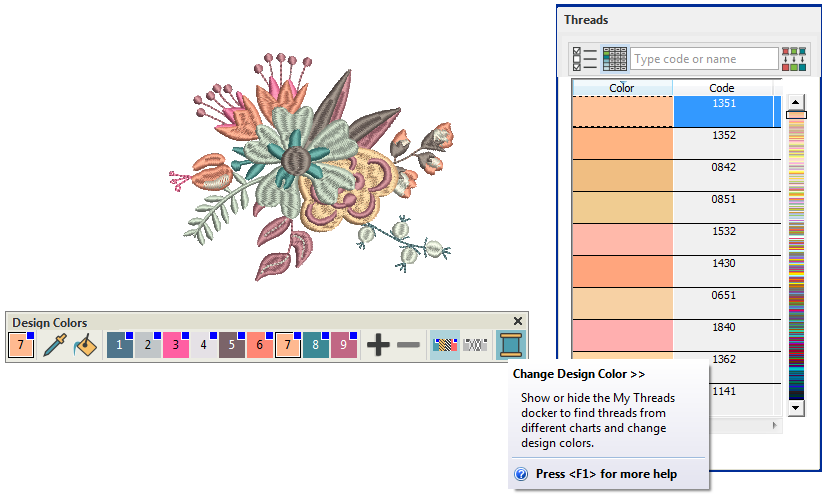
 | Use View > Stitch Player to simulate embroidery design stitchout onscreen in either stitch or TrueView. |
Preview stitchout
Press <Shift + R> or click on the Stitch Player icon to preview the stitch-out so you understand how the design will sew on the machine. See Travel through designs.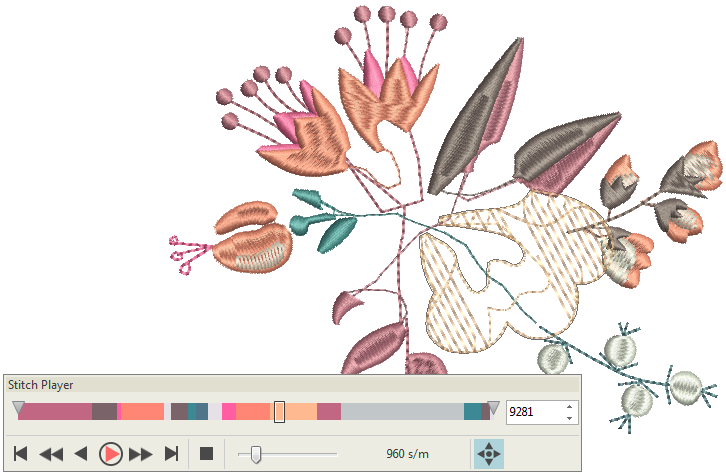
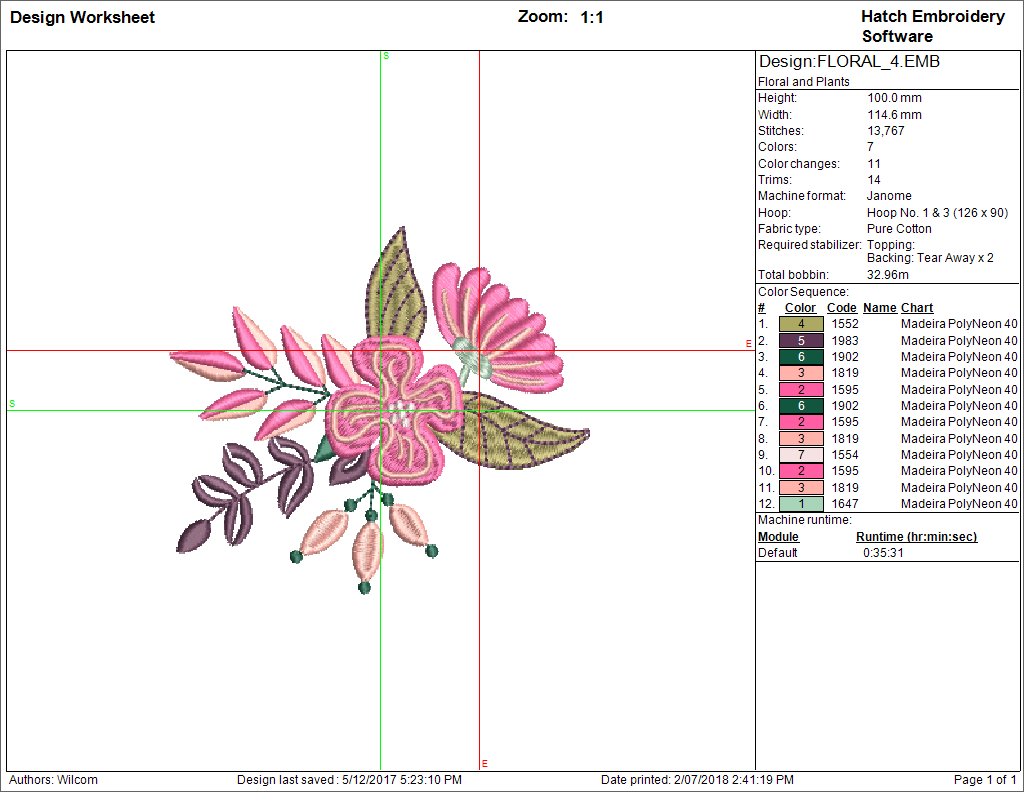
 | Use Output Design / Standard > Print Preview to preview design worksheet. Print from preview window. |
Preview design worksheet
Preview the design via the Standard toolbar or Output Design toolbox and print a design worksheet as preferred. See Print designs.
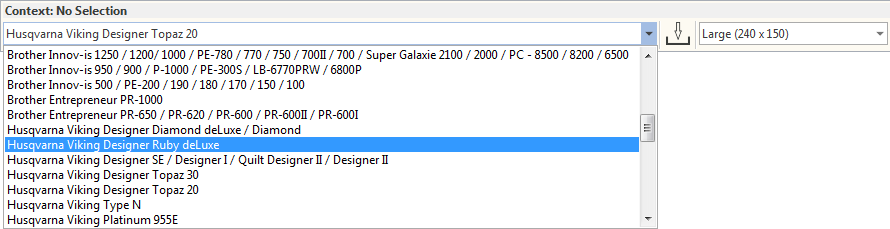
 | Use Output Design > Export Design to export the current design to a machine file for stitching. |
Use Output Design / Context > Transfer Design to transfer current design to the design folder. Right-click for settings. |
Output design
Send the design to machine via data media (usually memory stick). Or by file transfer. See Output designs.
Check your machine documentation for steps involved after transferring the design to machine.
