
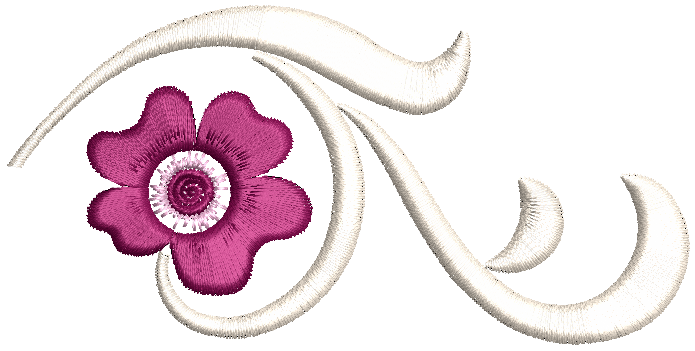
Raised embroidery
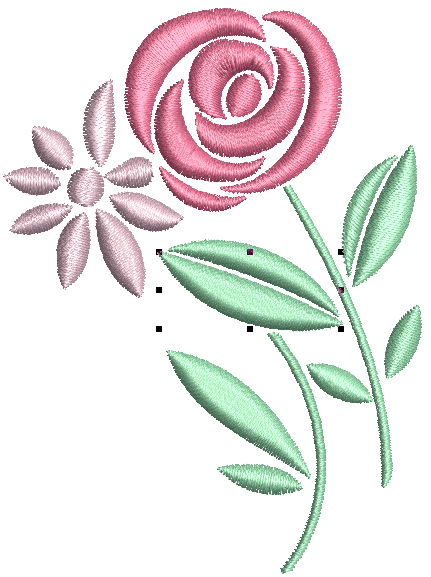 In addition to normal satin stitching, the software also provides raised or '3D' satin, both for outlines and fills. The resulting embroidery consists of multiple layers of satin stitching which adds dimension and a raised tactile surface to your designs. Of course it also uses a lot more stitches.
There are a number of techniques for creating trapunto designs. Traditional hand-trapunto involves sewing two layers of fabric together with a motif outline. The underside is then slit and stuffed with yarn or cotton. Another technique is to use 3D Satin instead of stuffing or batting in order to create dimension.
The screen illustrations in this publication are intended as representations, not exact duplicates of screen layouts generated by the software. The samples used to illustrate software features and capabilities may not be exactly duplicable, depending on your product level.
Use Object Properties > Outline > 3D Satin to create raised satin borders – can be used with trapunto for quilting effects. | |
Use Object Properties > Fill > 3D Satin to create raised surfaces – can be applied to lettering or used with trapunto for quilting effects. |
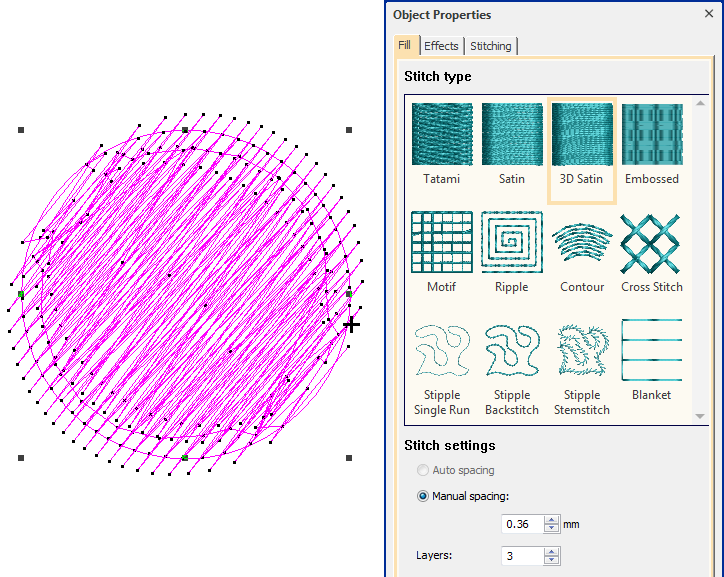
3D satin
Typically, 3D Satin is used to create extra body in satin objects for visual effect and to provide a raised or 'sculpted' surface. 3D Satin Line is mainly used with narrow lines of even width.
Recommended settings for best loft are 0.30mm manual for satin spacing with 3 or 4 layers.
 | Use Create Layouts > Create Trapunto Outlines to use in conjunction with 3D Satin to create stitching for a raised 'quilted' look. |
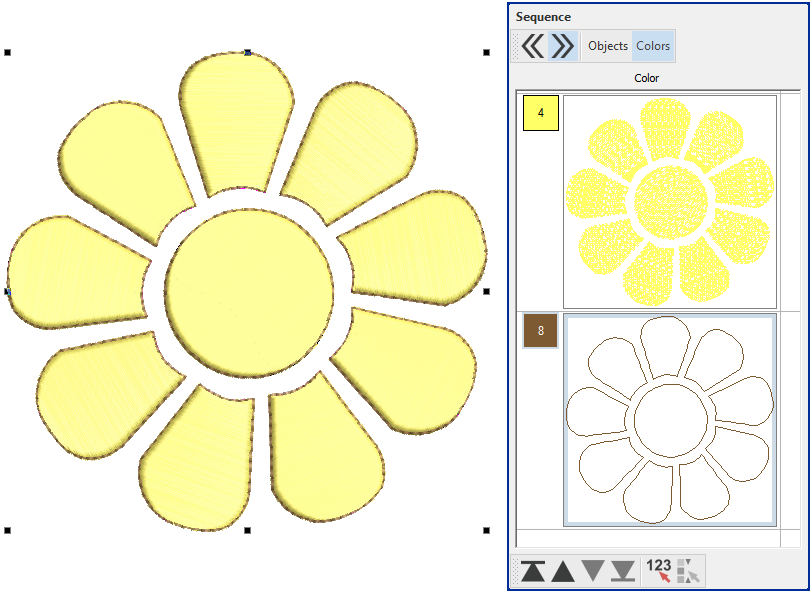
Trapunto outlines
Traditionally, quilted embroidery creates dimension by stuffing or filling areas to produce a raised surface. It employs a technique known as ‘trapunto’, also referred to as ‘stuffed embroidery’. A similar effect can be achieved using two software tools:
- 3D Satin: This allows you to create ‘puffy embroidery’ as an alternative to stuffing with yarn or batting.
- Trapunto outlines: The trapunto component allows you to stitch layers of fabric over top.
The Create Trapunto Outlines feature is used exclusively with 3D Satin to create a ‘quilted’ look. When activated, this feature always defaults to the next unused color so as to force the machine to stop before trapunto outlines are stitched. This allows you to place the covering fabric. The process is as follows...
- Digitize the design using 3D Satin and select all objects you want to include.
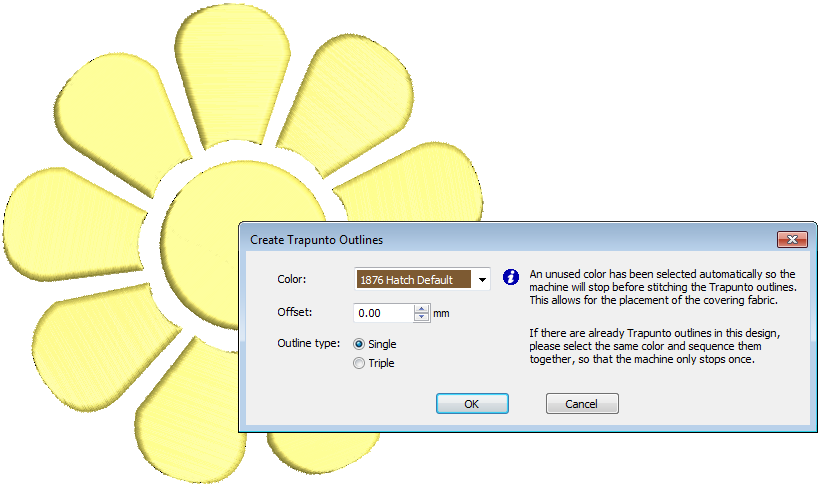
- Use the Create Trapunto Outline tool to create trapunto outlines. Preset color, offset, and outline type as preferred.
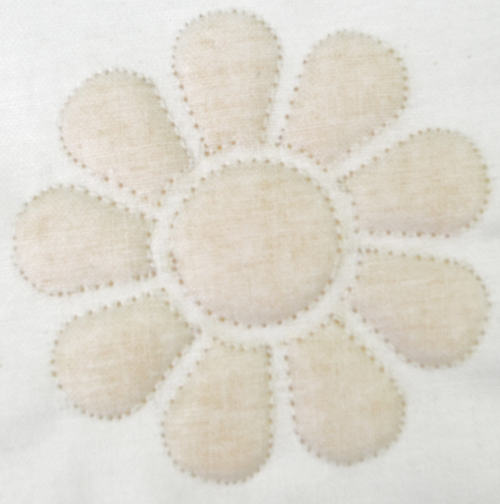
- Stitch the design on a backing fabric or heavy cutaway stabilizer.
- Next, cover the design with the main fabric and stitch the trapunto outline.
- Trim the stabilizer or backing close to the design stitching on the back.
Study the quilting design included in the designs folder. Try stitching it out to practice the techniques involved. Check your machine documentation.
