Freehand
 The Freehand Embroidery feature lets you create designs with a hand-drawn appearance, something which is difficult to achieve through conventional digitizing methods. The aim is to mimic designs formed on an embroidery machine by freehand motion. The difference is that the fabric is secured in an embroidery hoop, allowing the needle to ‘draw’ on the fabric surface, exactly as you have drawn on-screen. The Freehand Embroidery tools can be operated with a mouse or WACOM pen.
 | Use Digitize > Freehand Open Shape to click and hold to draw freehand open shapes. Adjust smoothing control for preferred result. |
 | Use Digitize > Freehand Closed Shape to click and hold to draw freehand closed shapes. Adjust smoothing control for preferred result. |
Create freehand shapes
As with other digitizing tools, freehand tools can be used in conjunction with all available stitch types. With these tools, however, you draw objects directly on screen. It is thus possible to produce artistic effects similar to free-motion machine embroidery or ‘thread painting’.
- Click and drag Freehand Open Shape to create free-flowing lines. Most line stitch types are available.

- Click and drag Freehand Closed Shape to create closed shapes. Most fill stitch types are available.

- To erase a portion of a line, press and hold the <Shift> key while dragging backward over the line. Alternatively, press <Backspace> to delete control points.
- Release the mouse to finish. Or press <Esc> to cancel input of the object.
.
 Freehand techniques
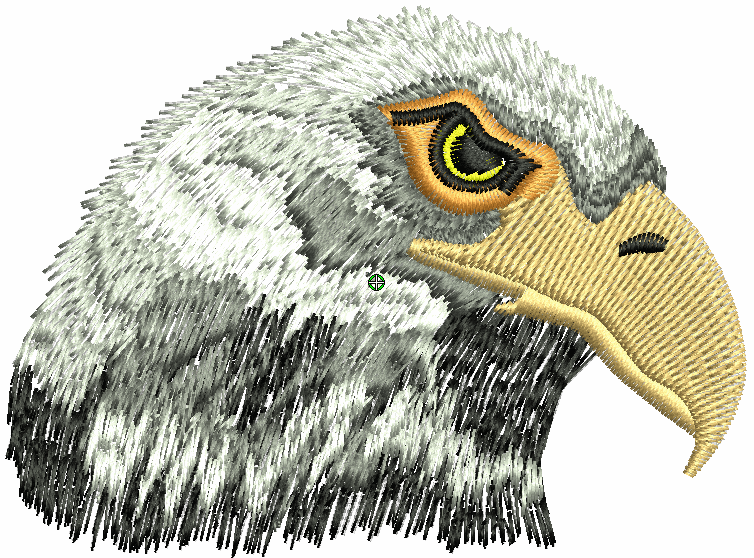
Techniques include stitching on top of photographic images or detailed line drawings. For example, use the tools to manually trace a color photo-stitch design. This technique requires accuracy and control of corners, similar to the CorelDRAW® Polyline tool.
Alternatively, designs resembling pencil or charcoal sketches can be quickly digitized. Use the tools to create ‘doodle’ type drawing effects without following detailed artwork – for example, adding to a basic clipart design or decorative text and so on.
.
Adjust line smoothness
The Freehand Embroidery tools have a special cursor. This is designed to provide a spacing guide as you use the tools. Control the number and spacing of the concentric circles as desired. Adjust ‘smoothness’ of freehand lines by means of the Smoothing control. Specify, as a percentage, how closely smoothed outlines follow the original.

Toggle display of the freehand cursor guide:
- Use 'Show Guide' to toggle freehand digitizing guide cursor – provides more control over ‘freehand’ drawing than the default pointer.
- Use 'Guide Inner Circle Radius' to define the size of the center circle of the freehand digitizing guide.
- Use 'Number of Guide Circles' to set the number of circles in the freehand cursor – if the inner circle radius is 2mm, each additional guide circle is offset by 2mm.
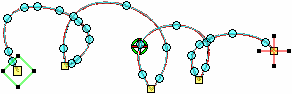
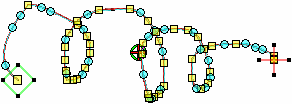
View and edit the control points generated by Freehand Embroidery tools in Reshape mode.
 |  |
| With smoothing | Without smoothing |
| Use Digitize > Freehand Open Shape to click & drag open lines on screen using current stitch settings for a hand-drawn look. |
| Use Object Properties > Outline > Satin to create thicker borders or columns of even thickness. |
Calligraphic freehand stitching
The Freehand tools can be used with Satin line and the Calligraphy setting to create truly calligraphic freehand effects. Generally you will use this setting with Freehand Open Shape but it can also be applied to Freehand Closed Shape with Outline stitching selected.
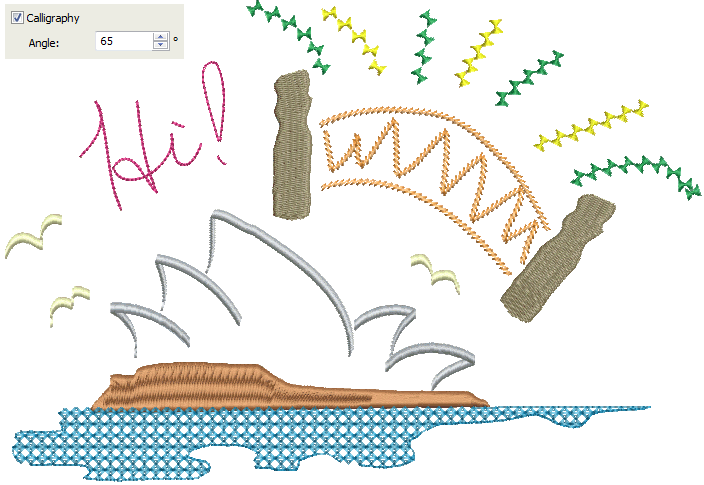
The possibilities offered by these options for creative, artistic expression are limitless. Especially when used with stylus pen tablets. You can even use these settings to create embroidered calligraphy.