
Redwork
Hobby users do a lot of 'redwork' – also known as blackwork, bluework, greenwork – by hand embroidery. Similar to Branching, the one-click Redwork tool creates two stitching passes.
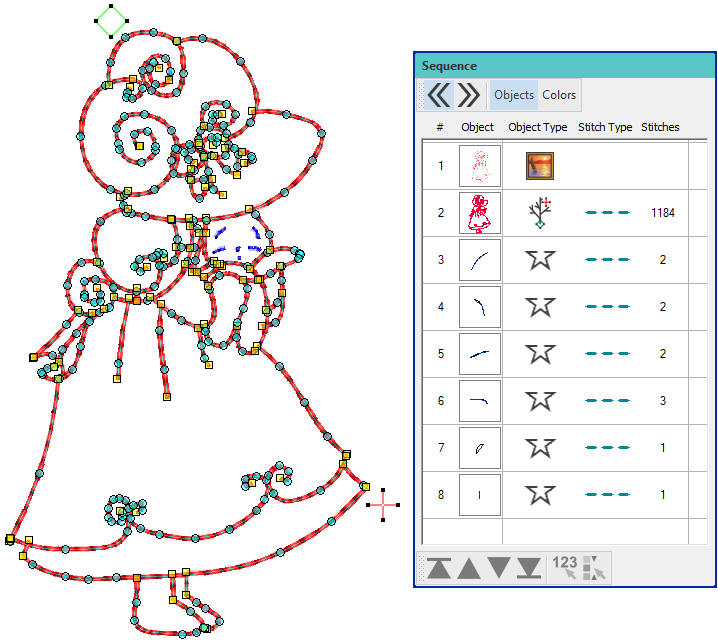
| Use Digitize / Edit Objects > Redwork to automatically sequence and group selected embroidery objects to create a Redwork object with its entry and exit points at the same position. |
Create redwork
The Redwork tool allows you to create realistic redwork similar to what can be achieved with hand embroidery. Redwork is created with outline stitches, no filled objects. The most common stitch types used to create a hand-embroidery look are Single Run, Triple Run, Sculpture Run, Backstitch and Stemstitch. To create redwork...
- Digitize your outlines making sure they touch or cross over. The order doesn't matter.
- Select the outlines and click the Redwork tool. Follow the prompts in the Status bar. In Redwork, the entry/exit point coincides, so you only need to digitize a single point.
- Click where you want the stitching to start. It will end at this same location after stitching two passes of each outline. If your redwork includes multiple colors, apply Redwork to each color in turn.
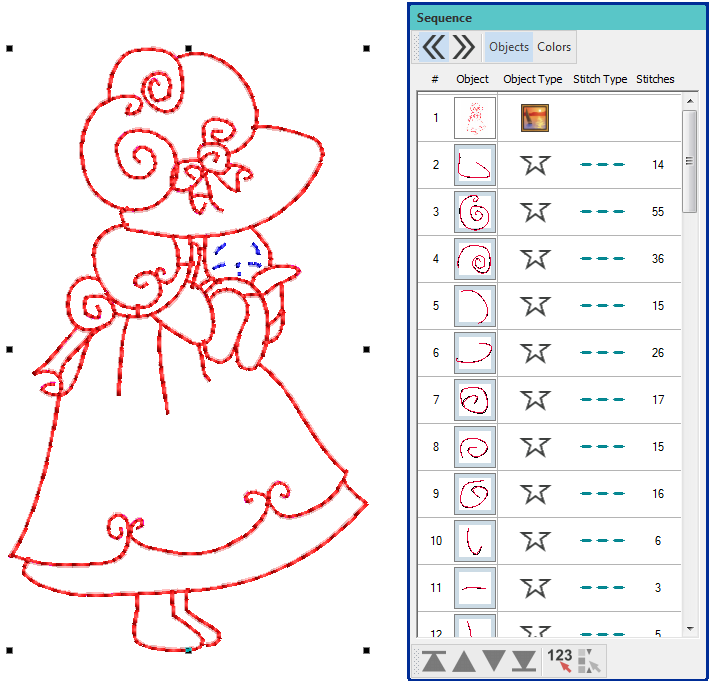
- Object appearance does not change but note in the Sequence docker that the selected outlines have been combined into a single 'redwork object'.

Tips
- If you are working with a design that includes filled objects, use the Branching feature in preference to Redwork, or a combination of both.
- Whichever stitch type you choose will applied in the last pass. The first pass will always be a single run.
- Sometimes you may want to turn off 'closest join' as this can override the start position. It may even give you more than two passes in some instances.
- After you finish, turn off TrueView to double-check there are no jump stitches.
 | Use Select > Reshape to reshape an object shape, edit stitch angles, adjust entry and exit points, or customize envelopes. |
 | Use Edit Objects, Appliqué or Lettering / Monogramming > Break Apart to split composite objects – monograms, appliqués, lettering, etc – into components. Allows each to be edited individually. This tool is also available via Edit menu. |
Edit redwork objects
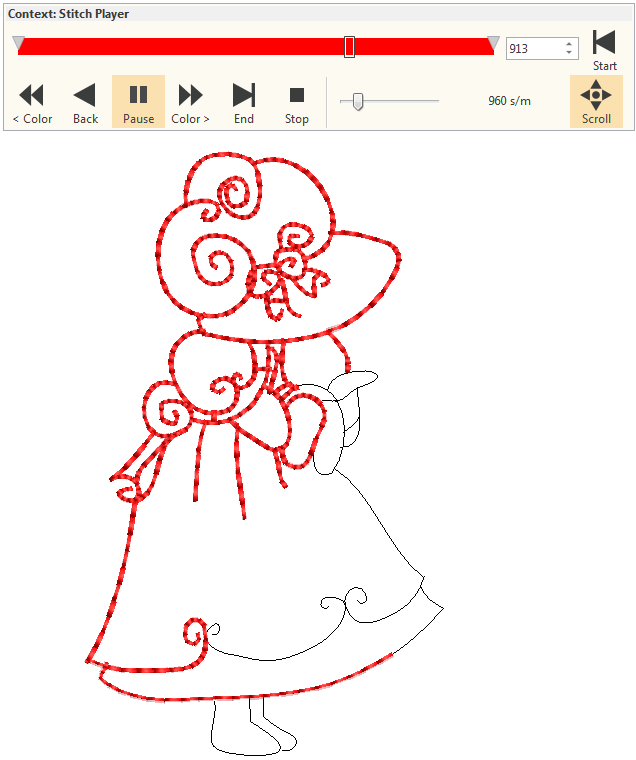
Change colors as preferred – red, blue, green, black, it doesn't really matter. You can use whatever color you like on the machine. Check the stitching sequence with Stitch Player. Note that each outline of the redwork object is stitched twice. Outlines not included in the selection are stitched separately.
When editing a redwork object in Reshape mode, both entry and exit markers are grouped and cannot be ungrouped. They can be selected and moved together.
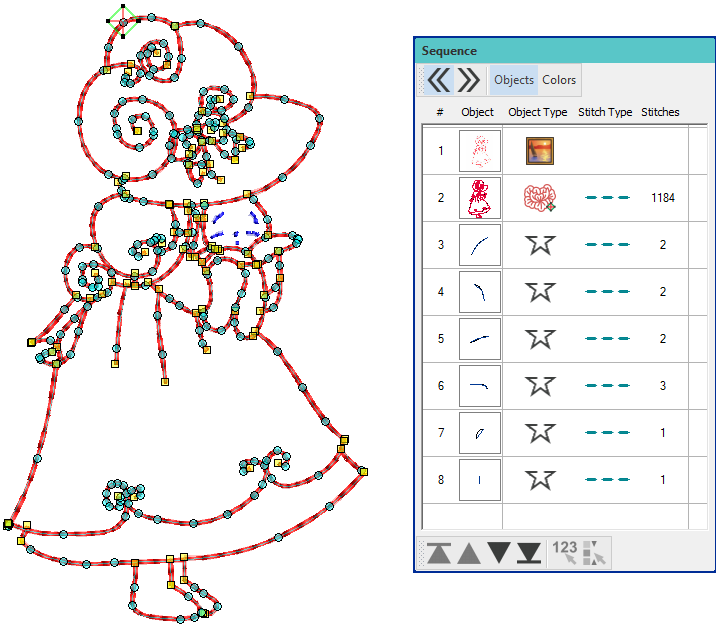
When a redwork object is broken apart, it changes to a branched object. Entry and exit markers are ungrouped and can be selected and moved separately in Reshape mode. You can break apart the resulting branched object again to access the component objects.
Tips
After checking your results, use 'Reshape' if you want to make changes.
If you want to re-do the redwork, click Break Apart twice and then start the process over again.
If the redwork contains more than two passes, turn off 'Closest Join', break apart, and then re-apply Redwork.
