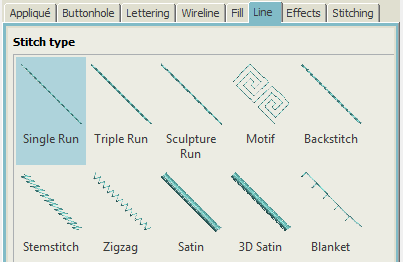
Line stitches
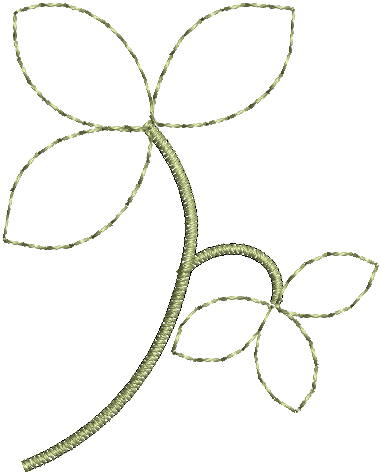
Your embroidery software provides tools for creating outline stitching of varying thicknesses and styles. Digitize outlines with both open and closed shape methods. Lines of varying thickness are typically used to add borders, outlines, and details to shapes. There are tools for creating simple run stitching as well as decorative outlines using motifs. Backstitch is an older-style, adaptable stitch which can be used for delicate outlines. Stemstitch is thicker and can be used to mimic hand-sewn embroidery. Satin lines can be used for stem shapes or thicker borders.
In all cases, digitizing techniques are the same. Most digitizing tools are available. Simply select a digitizing tool, a fill or line method, a stitch type, and click reference points. Press <Enter> to confirm or <Esc> to cancel. Stitch types can be easily swapped. Simply select the object and choose another stitch type.
| Use Object Properties > Outline > Single Run to create single rows of stitching for borders or details along a digitized outline. | |
Use Object Properties > Outline > Triple Run to create a thicker outline for heavier borders or details. |
Simple outlines
Use Single and Triple Outline tools to digitize lines of simple run stitching.
Digitize simple runs as you would any other outline stitch. Adjust settings via Object Properties.
For both run and triple-run stitches, stitch length can be adjusted via Object Properties to suit the shape. If a line has tight, sharp curves, reduce the length, for example to 1.8 mm, so that the stitches follow the line. To reduce the stitch count for flatter curves, increase the stitch length.
 | Stitch length 1.7mm |
Choose between run or triple run for thicker lines...
Mimic hand-made embroidery by using triple run and setting run length to 4.0mm.
Use Object Properties > Outline > Satin to create thicker borders or columns of even thickness. | |
Use Object Properties > Outline > 3D Satin to create raised satin borders – can be used with trapunto for quilting effects. |
Satin lines
Satin stitch can be used for outlines. It is well-suited to thicker borders. Adjust stitch density by setting a fixed spacing value, or let auto spacing calculate it for you. Use 3D Satin to create raised borders consisting of multiple layers of satin stitching. Stitch settings can be adjusted before or after digitizing. See also Satin stitch.
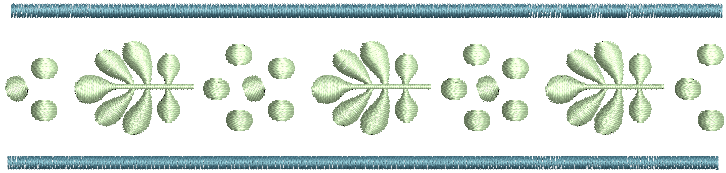
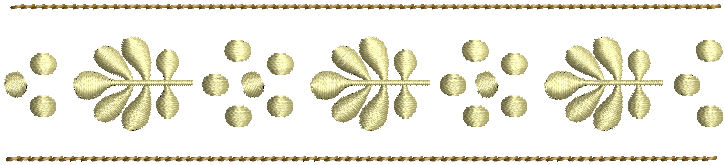
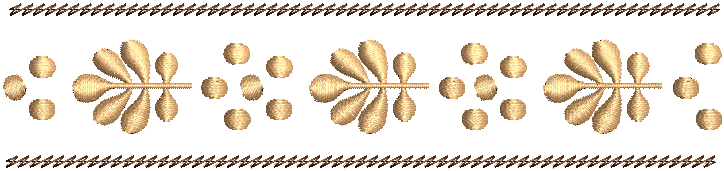
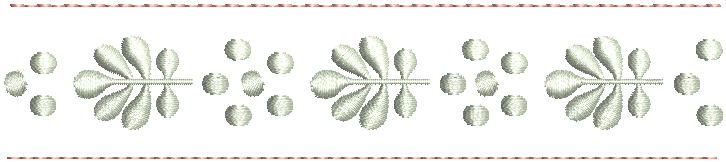
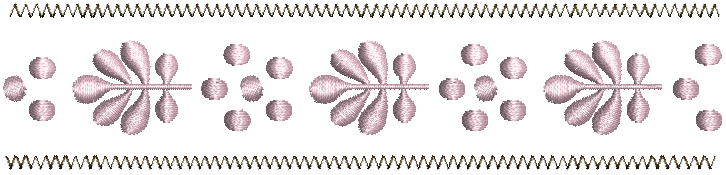
Use Object Properties > Outline > Motif to create ornamental craftstitch borders. Choose from pattern library. |
Motif lines
Motifs are pre-defined design elements, such as hearts, leaves or border patterns, that can be quickly inserted into a design. They generally consist of one or more simple objects, and are stored in a special pattern set. Motif line is a stitch type that creates motif repeats along a digitized line. Choose from a motif library or create your own. Motifs can be scaled, rotated and mirrored in the same way as other objects.

You can use the same motif patterns singly - one-by-one - or in motif fills for open, decorative stitching. See also Motif stitch.
| Use Object Properties > Outline > Backstitch to create traditional backstitch borders – old, adaptable stitch type used for delicate outlines. |
Backstitch lines
Backstitch is a traditional, adaptable stitch which can be used as a delicate outline. This small, even stitch follows intricate curves well. Backstitch can be used for blackwork and redwork designs. You can specify the exact stitch length, thickness and overlap values as well as the number of strokes.
Use Object Properties > Outline > Stemstitch to create traditional stemstitch borders or details such as stems and vines. |
Stemstitch lines
Stemstitch is a detail stitch. It is used for stems and vines with other decorative stitches, or as an outline for stitches such as satin or motif fills. You can specify various settings including line thickness, spacing, angle, single or triple, and stitch thickness.
Stemstitch can also be used to create heavier stipple fills with stemstitch lines. See also Stipple fills.
Use Object Properties > Outline > Sculpture to place a row of 'sculpture' stitches along a digitized line to simulate line stitches used in quilting. |
Sculptured runs
The Sculpture Run outline is used to simulate line stitches in quilting. It is a variation of multiple run stitching, where each alternative triple/multiple run stitch is replaced by a single run stitch. Sculpture Run outline is recommended for use only with later-model machines.
Recommended sewing settings include:
| Setting | Recommended |
|---|---|
| Needle | Red Tip needle #14 |
| Needle thread | Monofilament clear thread #60 (with spool net) |
| Bobbin thread | Rayon #60 (75d) |
| Bobbin holder | Bobbin holder for hand-look stitching (preset with lower tension) |
| Upper thread tension | 7 |
| Stitch length | 2 |
| Speed | 400 spm |
Results will vary depending on fabric and other sewing conditions. In this case, it is recommended to use the ‘Hand-looking Quilting Stitch’ option on later-model machines. Test your design on a small piece of fabric before stitching your project.
Use Object Properties > Outline > Zigzag for long, narrow columns of slanted, side-by-side stitches in a zigzag pattern. |
Zigzag lines
Zigzag stitch is similar to Satin in that the needle penetrates each side of the column. But while Satin gives a straight line followed by a diagonal, Zigzag produces two diagonal lines, thereby producing a more open stitch.
Use Object Properties > Outline > Blanket for long, narrow columns with a ‘comb’ effect. |
Blanket lines
E Stitch, sometimes referred to as ‘blanket stitch’, produces long, narrow columns with a ‘comb’ effect. It is often used to stitch borders around appliqués. The needle penetrates both sides of the column, and then penetrates the second side again, laying the thread along the side. E stitches are usually more open than Satin or Zigzag stitches.
![]()
.
Notes...
- The software also provides tools for automatically generating outlines. See also Outlines & offsets.
- Use Backtrack and Repeat to reinforce outlines while specifying the direction of the stitching. See also Stitch reinforcement.