
System preferences
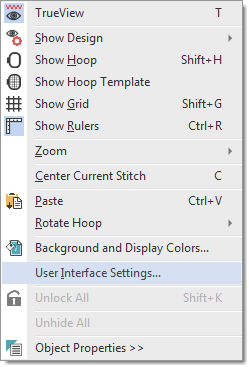 The User Interface Settings dialog allows you to set auto-save and scrolling preferences. Access the dialog via the Software Settings menu > User Interface Settings. Alternatively, right-click a blank part of the design window to access the command from the popup menu.
The screen illustrations in this publication are intended as representations, not exact duplicates of screen layouts generated by the software. The samples used to illustrate software features and capabilities may not be exactly duplicable, depending on your product level.
Customer experience program
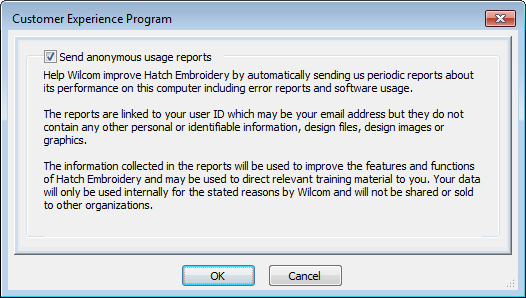
Hatch Embroidery includes a 'Customer Experience Program' which is designed to provide Wilcom with valuable data concerning software usage patterns. The program is entirely anonymous and is aimed at improving the features and functions of Hatch Embroidery. However, you have the option of opting out of the program altogether by deactivating the checkbox in the dialog. Access the dialog via the 'Software Settings > Customer Experience Program' command.
Automatic save options
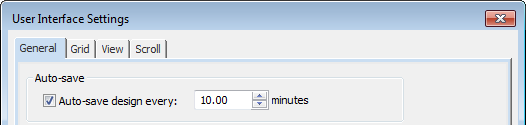
Open the User Interface Settings dialog and choose the General tab. Save your work automatically at regular intervals using Auto Save to protect you from losing work in the event of hardware or software failure. Select the Auto Save Design Every checkbox and specify an auto-save frequency in minutes.
The design will be saved in the BACKUP folder of your installation. It will have the same name as the original file with the extension BAK. Backup files remain in the Backup folder until you delete them. To prevent the folder from using too much hard disk space, delete unwanted files regularly. For further detail, see How To FAQs.
Toolbar display options
Customize the user interface to suit your preference or monitor. The User Interface Settings > General tab allows you the choice of large or small tool icons, with or without short names.
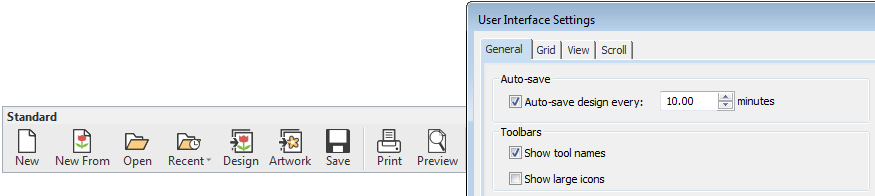
You may wish to activate large icons for better visibility, especially when working with 4K high resolution monitors. Buttons are large enough to be seen while allowing effective use of the large design window.
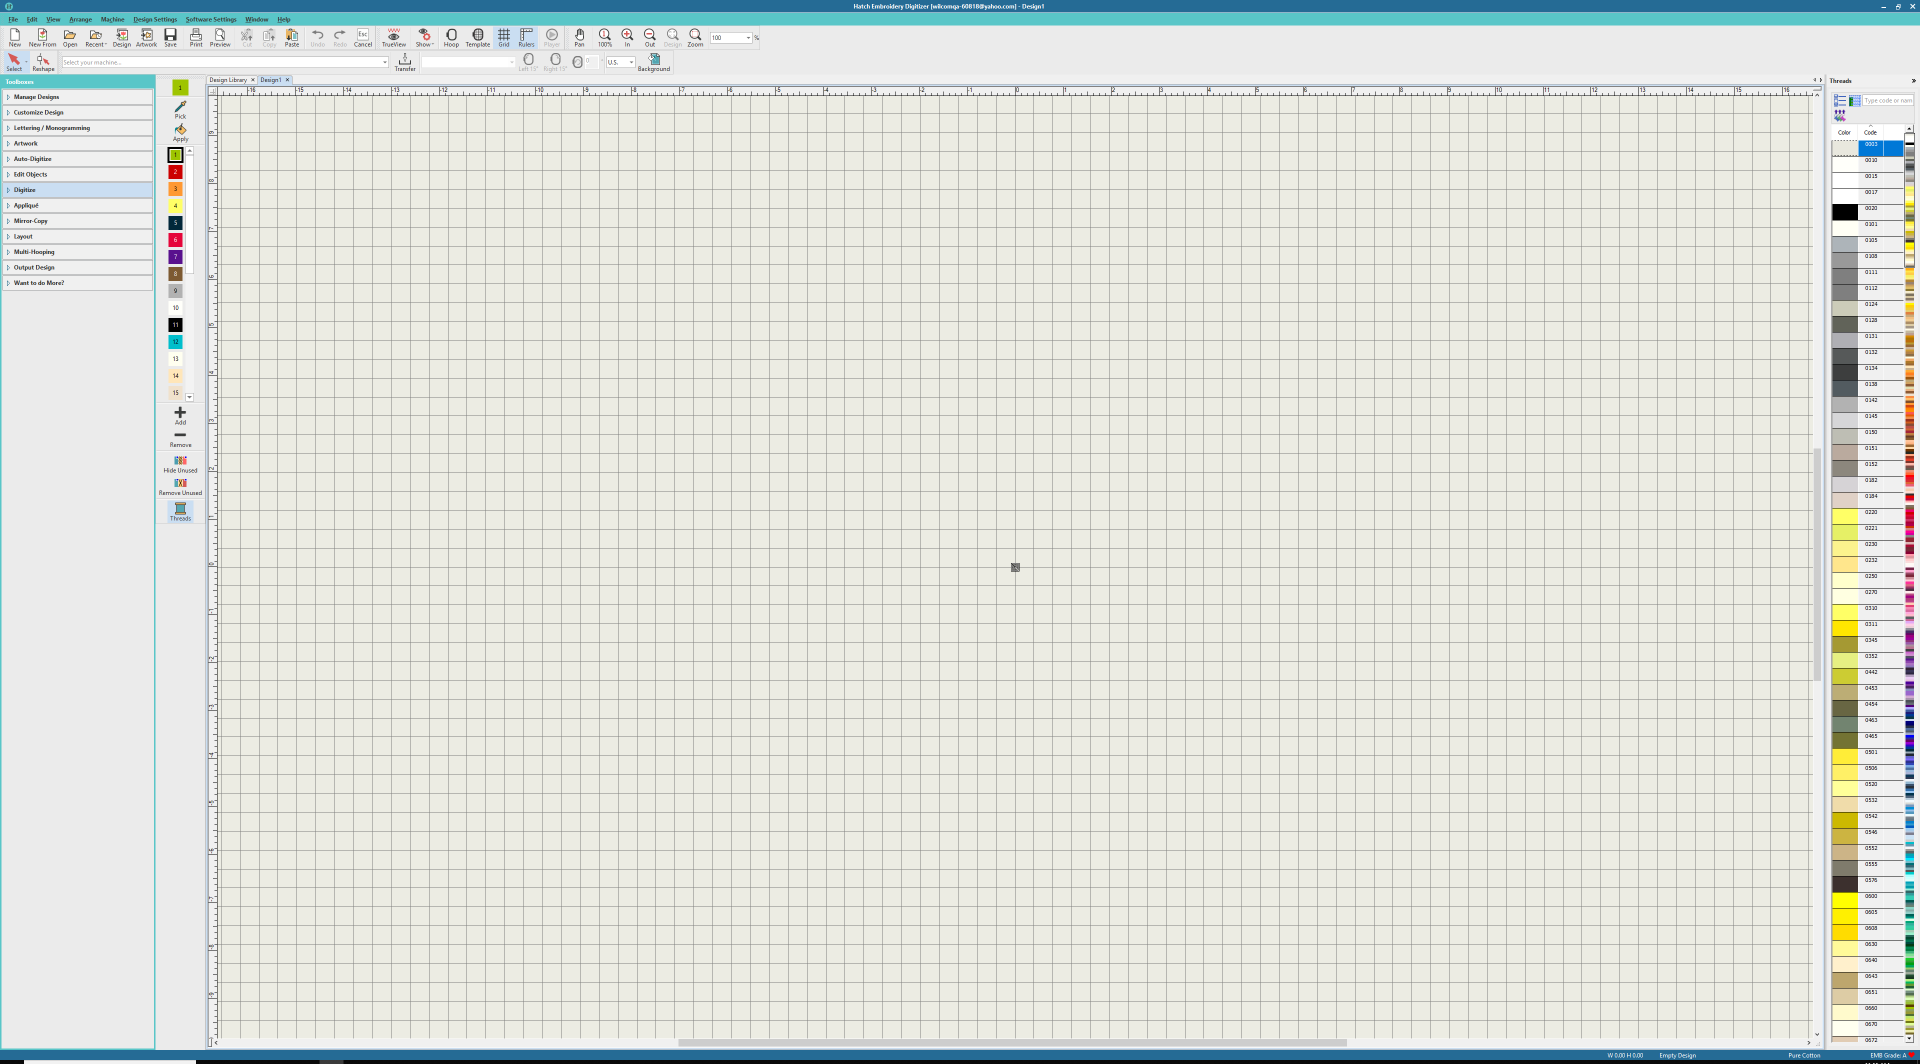
Auto-scroll behavior
Use Auto Scroll to scroll automatically within the design window while digitizing. This can be more convenient than using panning or scroll bars, especially when working on large designs.
Auto Scroll options include:
| Option | Purpose |
|---|---|
| Auto scroll | Tick checkbox to enable automatic scrolling while digitizing. |
| Move pointer after scroll | Tick checkbox to force pointer to move with the current cursor position after each scroll. |
| Response time | Enter smaller values to increase scrolling speed. |
The effect of the Auto Scroll setting only becomes apparent when you start to digitize. The design window automatically scrolls to follow the current cursor position.
The 'Move Pointer' option gives you the following choices:
| Option | Purpose |
|---|---|
| Center | Center of the window. Use this setting for large movements. |
| Midway | Halfway between the original pointer position and the center of the window. Use this setting for smaller movements – e.g. when zooming into a small area of the design. |
| Corner | The edge of the screen. Use this setting for slow scrolling. |
Hold down the <Shift> key to temporarily deactivate Auto Scroll while digitizing.
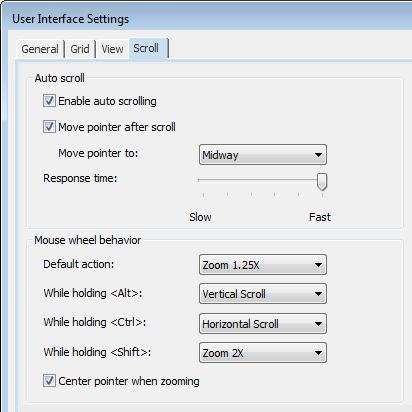
Mouse-wheel behavior
The Scrolling tab also allows you to set four different mouse wheel behaviors based on your selection of default options. Whenever a setting is changed, the system will update other mouse wheel behaviors, but you have complete control to change as desired.
The same four options are available for use when deploying the mouse wheel on its own or in combination with <Alt>, <Ctrl>, and <Shift> keystrokes. That is, you can program the wheel to scroll horizontally, vertically, or zoom by preset factors. Tick 'Center Pointer when Zooming' to ensure that the pointer stays centered on screen at all times.
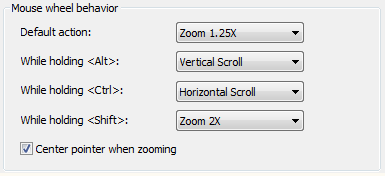
Other general options
Miscellaneous other system settings available via the User Interface Settings > General tab.
These options include:
| Option | Purpose |
|---|---|
| Show measure tooltip | Shows length and angle in a tooltip when measuring distances on screen. See also Grids & guides. |
| Enable mouse-click sound | Enables beeping sounds made by the software in response to mouse clicks and pressing <Enter> or <Spacebar> keys while digitizing. |
| Crosshair cursor | Changes the default cursor pointer to crosshairs for more precise positioning. It is best used together with the grid. |
