
Insert designs
The screen illustrations in this publication are intended as representations, not exact duplicates of screen layouts generated by the software. The samples used to illustrate software features and capabilities may not be exactly duplicable, depending on your product level.
 | Use Customize Design / Standard / Create Layout > Insert Design to insert an existing embroidery design into the current design. This tool is also available via File menu. |
The simplest way to create design layouts is to simply combine designs or design elements into a single design layout. The software lets you insert one design into another. Use the Insert Designs tool on the Standard toolbar or Customize Design toolbox.

By default, the inserted design will be added to the first design and appear after it in the stitching sequence.
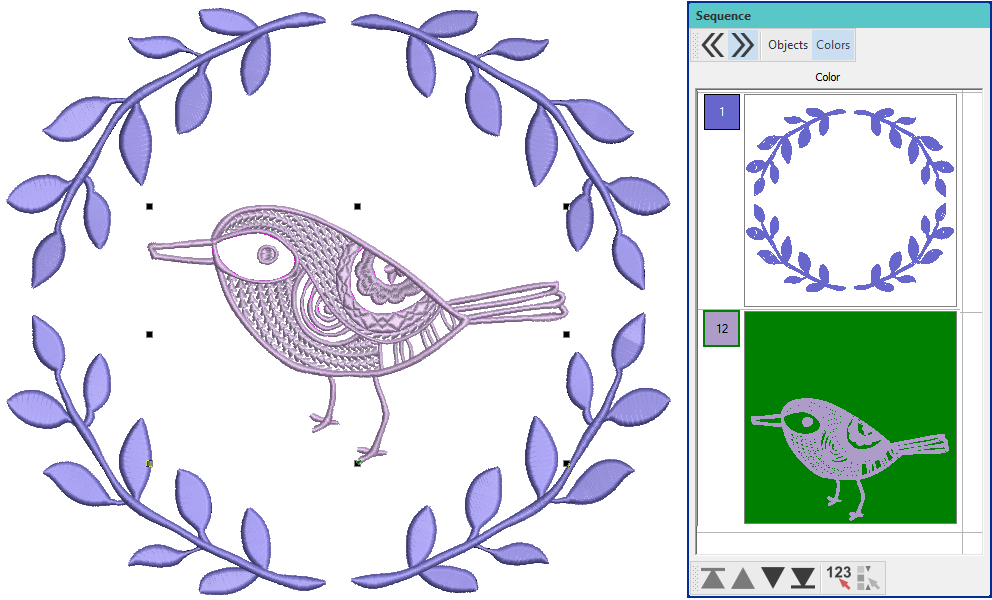
Alternatively, travel to the point in the stitching sequence where you want to insert the second design. You can insert a design between objects in the sequence, or ‘nest’ the design within an object. See also Travel through designs.
The two (or more) designs can then be saved as a single combined design. See also Save designs.
For more details, refer to Design layouts > Insert designs.