Embroidery connections
Connectors link objects in a design. They can be run stitches or jumps. You can use automatic settings to generate connectors, trims and tie-offs, or add them manually. If you prefer to add tie-offs and trims as you digitize, you can turn off automatic connectors altogether.
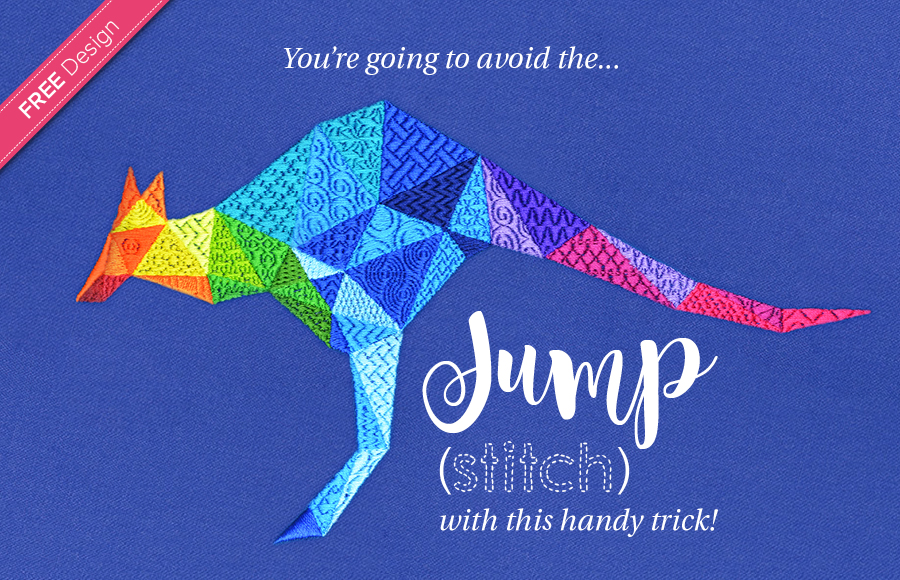
We all know how annoying it can be having to clip all those jump stitches after we finished stitching a design. Unfortunately, depending on the design of course, sometimes it cannot be avoided. In this article I will show you how, with a little bit of planning, you can eliminate all the jump stitches in a complicated design just like this kangaroo.Click the thumbnail to read more or right-click to open the link in a new tab... |
Use View > Show Design to show or hide design elements. Click to open droplist of view settings. |
Use Select > Reshape to reshape an object shape, edit stitch angles, adjust entry and exit points, or customize envelopes. |
View connectors
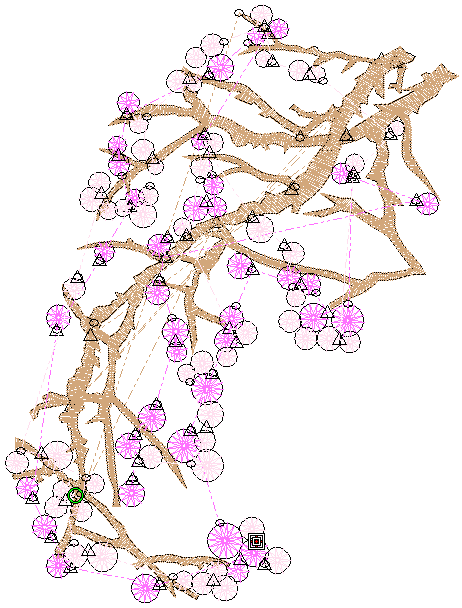
Turn on connectors via the Show Design droplist or press <Shift + C>. The triangle indicates a trim, while a dotted line indicates a jump. In TrueView, jumps do not appear.
When studying connectors, you may find that the distance between consecutive objects is not as close as it could be. To adjust connecting stitches, use Reshape to reset entry and exit points.
The Apply Closest Join feature allows you to (re-)apply closest join to selected objects after editing. The command is enabled when two or more embroidery objects are selected. See Closest joins.
| Use Context > Always Tie-Off & Trim to trim connectors. When turned on, connectors will always be tied off and trimmed. Otherwise, the software will decide when to trim. |
Use Edit Objects > Object Properties to show Object Properties docker. Use to preset properties for new embroidery objects or adjust properties for selected embroidery objects. |
Automatic connectors
The software generates connecting stitches both within and between objects, based on Object Properties. You can use the Always Tie-Off & Trim tool on the Context toolbar to force the use of trims when you don't want connecting stitches to appear. For instance, lettering objects often contain connecting stitches between letters. In the sample below, the first object uses default settings and includes connecting stitches between letters 'b_l_i_c_k'. The second object includes trims between each letter as indicated by the small triangles. The Always Tie-Off & Trim tool will appear on the Context toolbar whenever you choose one or more embroidery objects. See also View embroidery elements.
You can change connector settings for a whole design or selected objects. Sometimes, for instance, you may want to insert a jump as a connector between embroidery objects. The software inserts Tie-off and Trim functions which command the machine to cut the connecting thread. The easiest way to do so is to select the first object and click Always Tie-Off & Trim on the Context toolbar.
At other times, you may actually want the software to turn off Trims and Tie-offs for selected objects or for entire designs. For instance, if the connecting run is hidden beneath another object, it is more efficient to use a connecting run rather than a trim and tie-off. You can do this via the Object Properties > Stitching tab. The following settings apply selectively to tie-ins, tie-offs, and/or trims. They work both for selected objects and when digitizing new objects.
| Setting | Purpose |
|---|---|
| On, if next connector >= | When selected, automatic trims are applied when connectors are greater than or equal to the specified value (default = 3mm). This setting can be activated for selected objects. The 'Always Tie-off and Trim' icon on the Context toolbar is enabled but not activated. |
| Always | When selected, automatic trims will always be applied when digitizing or to selected objects. This setting is activated whenever the 'Always Tie-off and Trim' icon is activated. |
| Off | This has the effect of turning off trims when digitizing. The setting can be turned off for selected objects. When selected, the 'Always Tie-off and Trim' icon on the Context toolbar is greyed out. |
The software also allows you to create ‘branched objects’. Selected objects are resequenced, connectors minimized, components grouped, and stitches regenerated. Underlay can be applied to all. See also Branching.


