The user interface
The embroidery software can be opened via the desktop icon or MS Windows® Start menu.
Design window
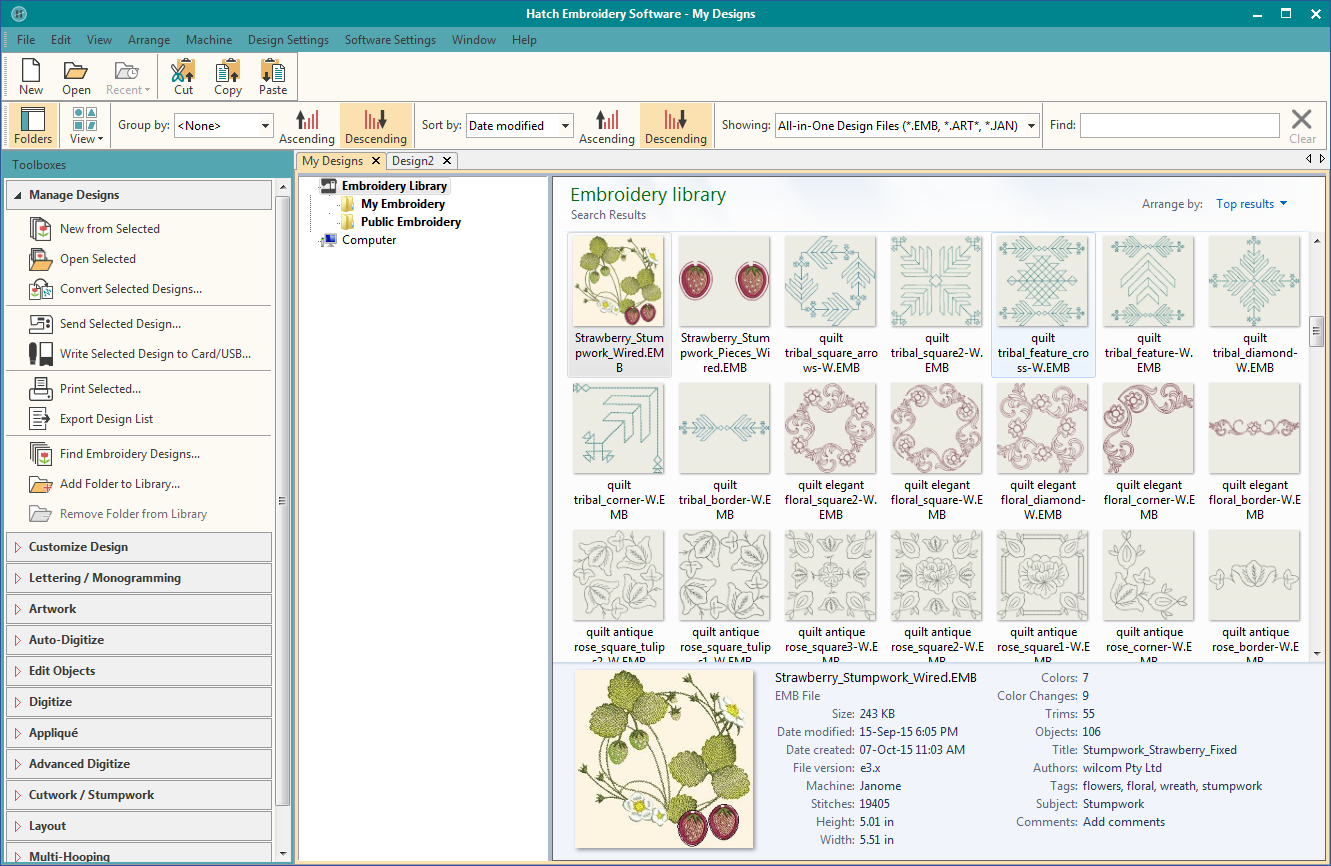
Your embroidery software has a single workspace or ‘design window’. This allows you to modify or create embroidery designs using the extensive toolset. You can have multiple designs open simultaneously and toggle between each via the design tabs.
Menu & toolbars
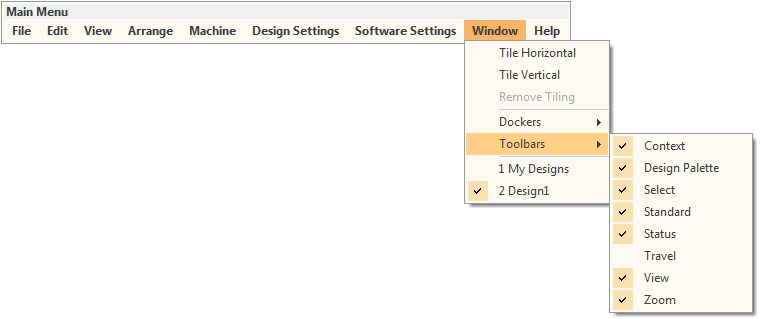
The main menu and toolbars are normally docked at the top of the screen above the design window. Use both to access common commands. As you get more familiar with them, you can speed things up by using keyboard shortcuts. For a list of available toolbars, go to the Window menu...
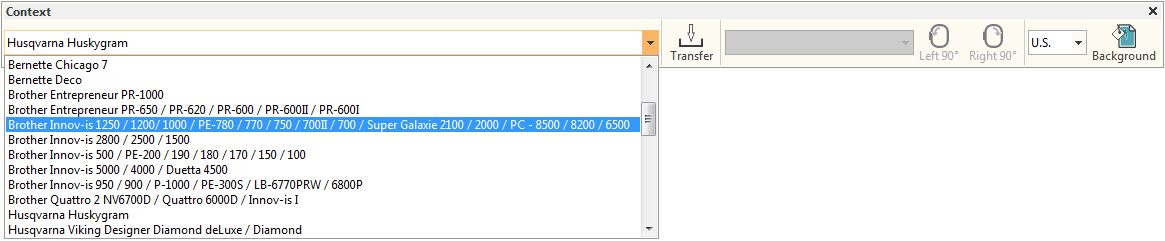
The software includes a 'Context' toolbar which changes according to the selected tool. If you have no tools selected, you will see a machine list as well as a hoop list. Here you can also set your measurement units – Metric or U.S. – and adjust screen background settings.
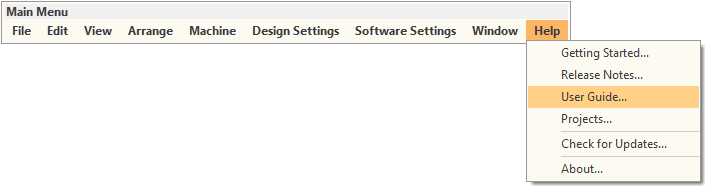
The Help menu provides easy access to online documentation in the form of release notes, user guide, and projects as shown...
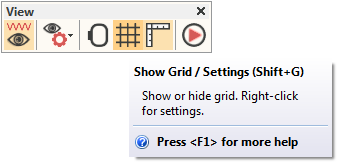
Onscreen help provides quick access to step-by-step instructions. Context-sensitive help is available for tools and dialogs by pressing the F1 key.
Toolboxes
 Toolboxes are like toolbars in that they contain software tools. However, each toolbox represents a typical scenario you will be engaged in, such as customizing designs or editing objects. Some tools may appear in more than one context. As such, toolboxes are organized in order of common operations, starting with managing your designs. See also Manage designs.
Dockers
The software includes a number of ‘dockers’ for key functions. These include operations to do with thread selection, object sequencing, cutwork, ‘carving stamps’, as well as viewing and modifying object properties. Dockers are normally docked to the right of the design window. They may also be ‘floated’ by dragging the caption bar to the design window or double-clicking. For a list of available dockers, go to the Window menu.
There are three dockers you will make constant use of:
| Docker | Purpose |
|---|---|
| Object Properties | The most important of these is the Object Properties docker. Use this together with the Context toolbar to access and modify the many properties of selected embroidery objects. |
| Resequence | The Resequence docker offers an easy way to selectively view and resequence color blocks and objects in designs. |
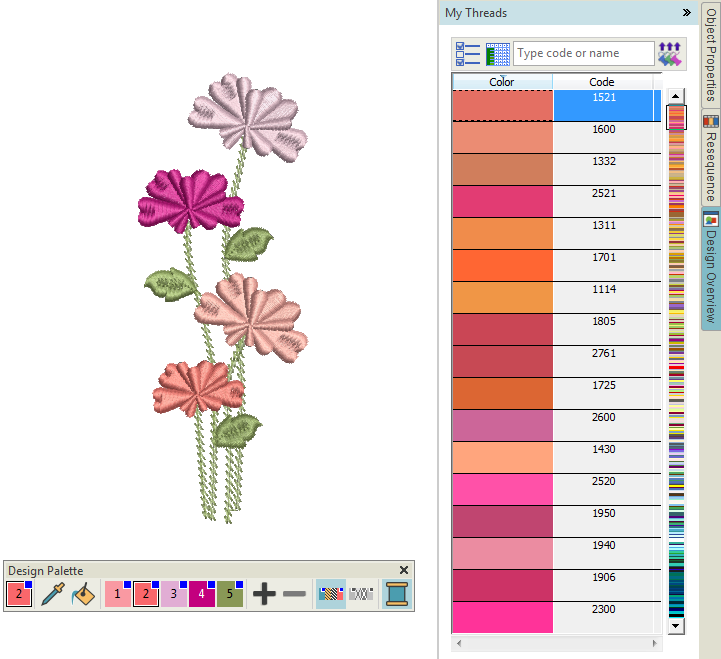
| My Threads | The My Threads docker allows you to select thread charts and assign threads to the current design. The My Threads docker works in conjunction with the Design Palette toolbar. |
Status bar
A Status Bar at the bottom of the design window provides continuous display of current cursor position status as well as instructions for use of selected tools.

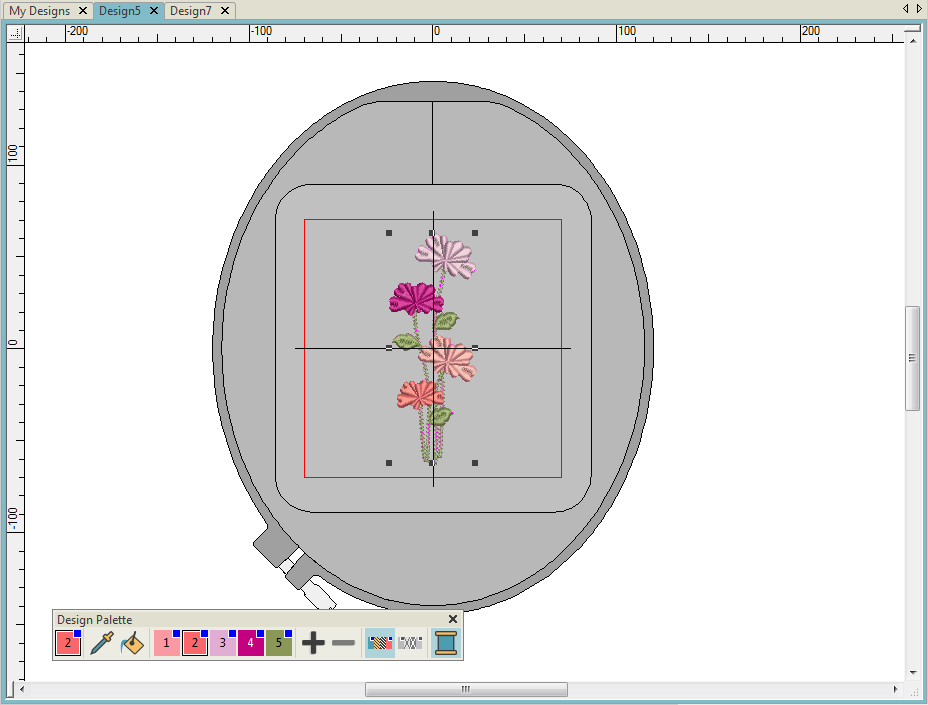
Multi-hooping mode
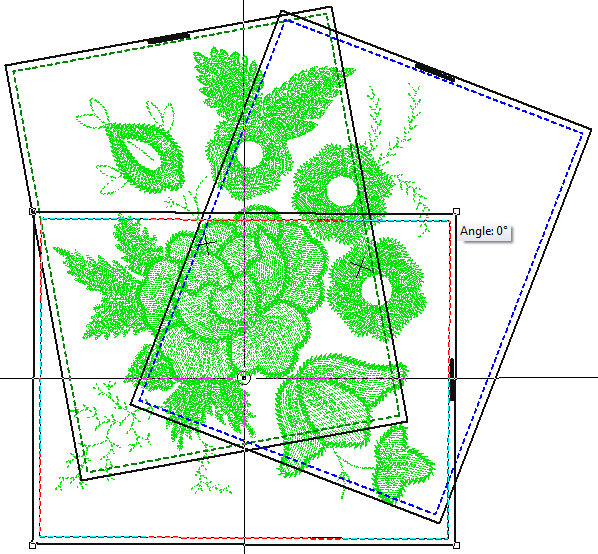
Here is a screen image from the multi-hooping workspace which is accessed via the Multi-Hooping toolbox. If your embroidery is too large or contains a number of designs spaced around an article, you can split it into multiple hoopings. This means you can create embroidery designs that are larger than can be stitched in a single hooping. The multi-hooping workspace allows you to set up the position and sequence of each hoop. See Multi-hooping.
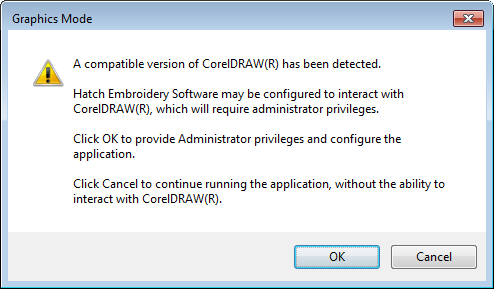
Integration with CorelDRAW
- Auto Digitizer
- Creator
- Digitizing
This is available for customers who already own CorelDRAW x6 and have it installed on your computer together with Hatch.